

Phase two is a continuation of Phase One because it is still part of the support but it’s a lot more advanced. My limited knowledge of framing came in handy here. The proper tools may also come in very handy. I had to build a big platform to hold up the floor and the house itself so I basically built a deck. Here’s what I did.
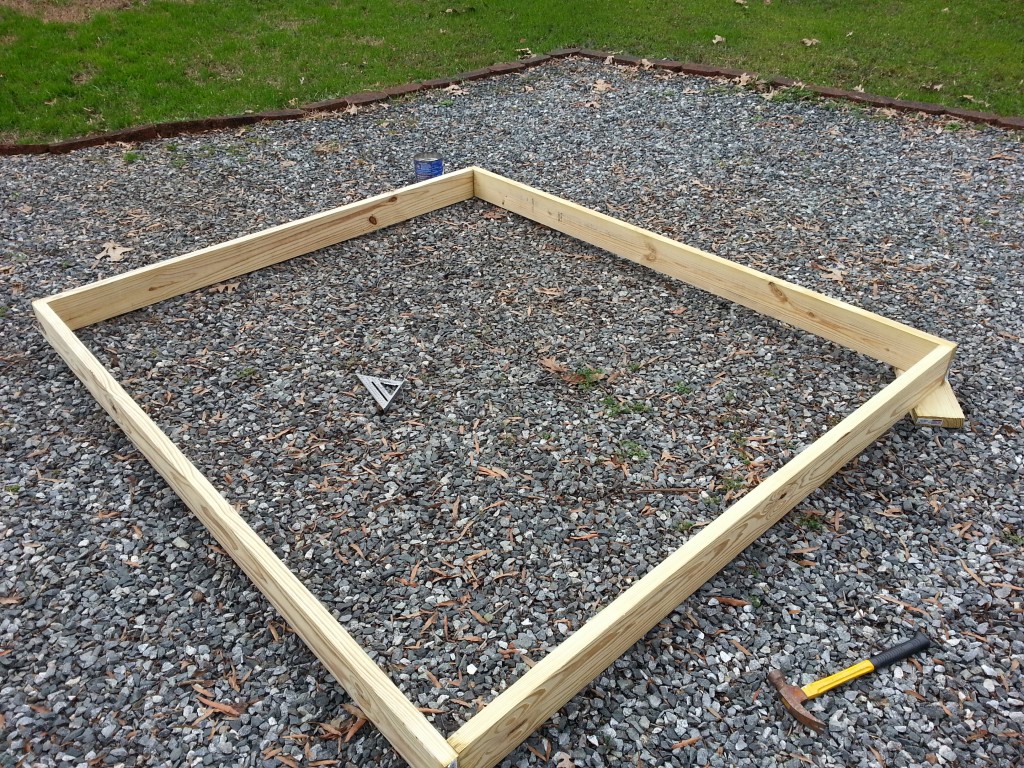
The distance between my two trees was a little over 7 feet, so I want to create a 7 by 8 area for the platform. Here’s a shot of it framed out before I added supports. Since I was building on boards between 2 trees instead of building around 1 tree, it actually made it easier- I could build it on the ground (or in this case, my driveway).

This is a framing hammer. It makes it a lot easier to hammer nails since it’s bigger and meatier than a regular hammer. And longer so it hammers nails much faster. The right tools for the job.

Since I had 8 foot 2 by 6’s (yes over built the platform- trust me, you want to) and it needed to be 7 feet by 8 feet, I had to trim a foot off of a few. But since exactly 7 feet includes the band on each end, trim off the edge PLUS the width of the band on each end. So my 7 foot actually became 6 feet, 9 inches or so. Measure each one because they aren’t always a uniform 1.5 inches wide. Yes a 2 by 4 is almost always 1.75 inches by 3.5 inches. Measure a lot. Measure twice, cut once.
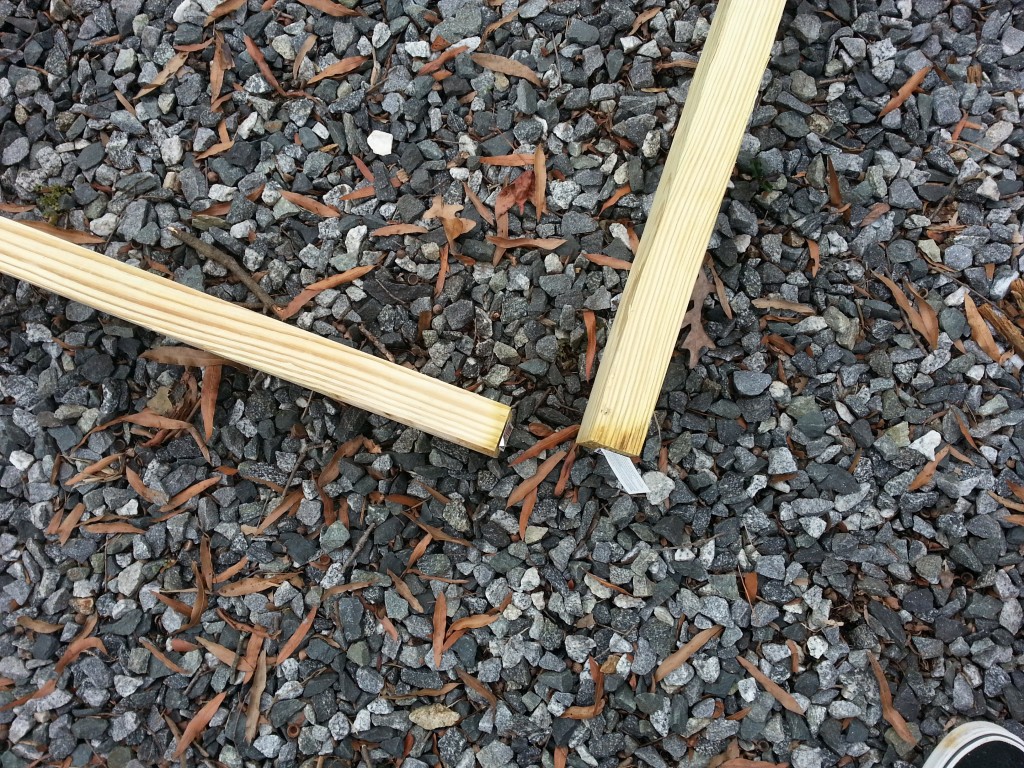
Before…
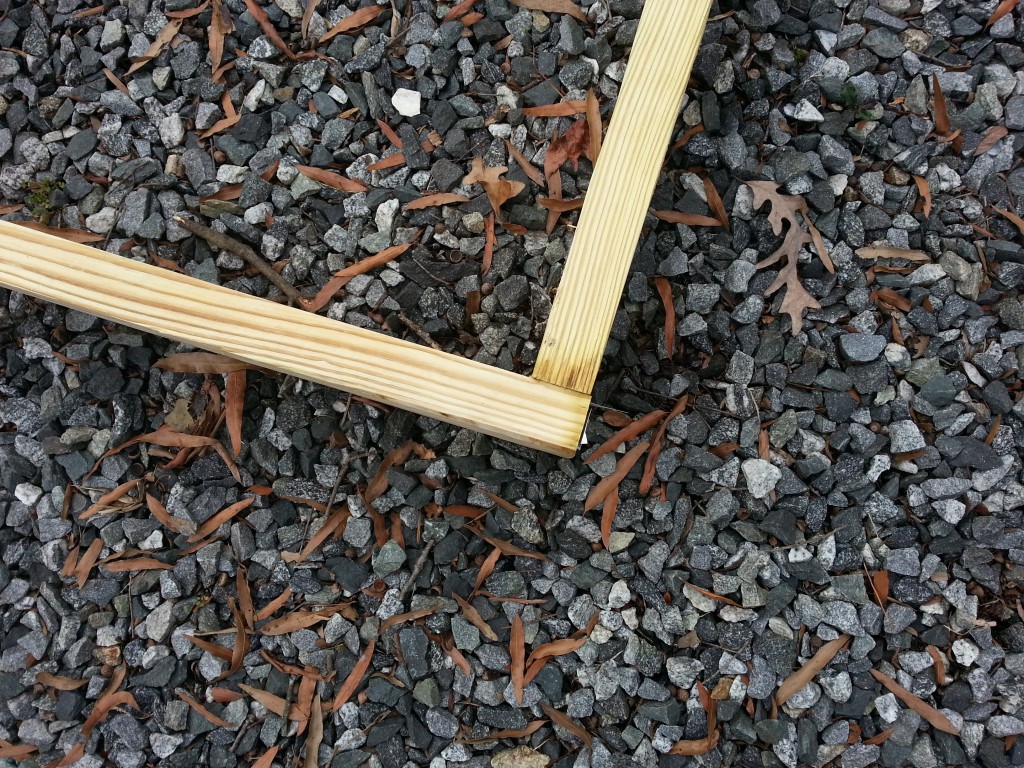
After. Nails are fine. They have the best tensile strength.

A quarter inch off. Missed it by that much. Still not too shabby for an amateur like myself.

This is a Joist Hanger. Use them to support your 2 by 6’s in the middle of the platform. Just like on a deck. Otherwise just nailing at the ends will eventually cause the middle to sag. And lumber will twist and shrink as it ages and the hangers will help hold them in place. They’re only about a buck apiece and worth every penny.

This is what the hanger looks like in place. All even and supported. Nails all go at different angles too so they’re less likely to pull out. The top of the stud should be level and flush with the band stud so the floor will be level.
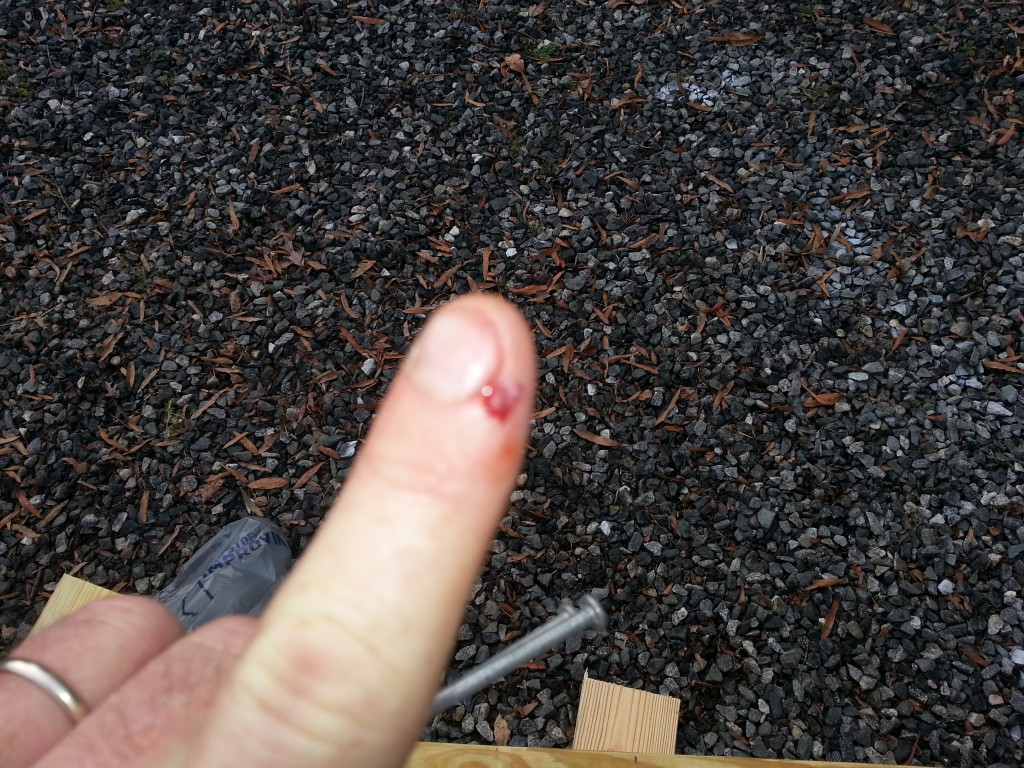
Ouch!

Nothing a Bacon Bandaid won’t fix.

This was the fun part- I measured off 2 feet at the front, and then divided the other 6 feet into 3 sections 1.5 feet (18 inches) apart where the house proper goes. A tape measure is your friend- just like in framing a house, I measured 18 inches “on center” or in other words I measured and placed marks on the outside band 18 inches apart and centered each 2 by 6 in the middle of that mark. So the studs are 18 inches apart from the center of each stud. The child was helping, for what it’s worth. She ran and grabbed my tape measure and junk when I had my hands full. She did no cutting at all- she’s a few years away from using power tools.

So I bet your asking “Where did you get a blonde kid? You sure she’s yours?” and my answer is yes, I’m sure but the blonde… well I have no idea. And yes, she is wearing cat ears. You’re also asking why I measured out the 2 feet at the front (where the blonde child is standing). The front two feet is not going to be inside the tree house- it will be decking for little chairs and such. 2 feet isn’t much but it will house some kids throwing stuff at you.

Since the child is too small and has very little upper body strength, I had to drag the platform over to the supports, lean it up against it, and then lift one end, sliding it onto the supports. Got the edges a little dirty but that’s no biggie. It’s gonna get rained on anyway.
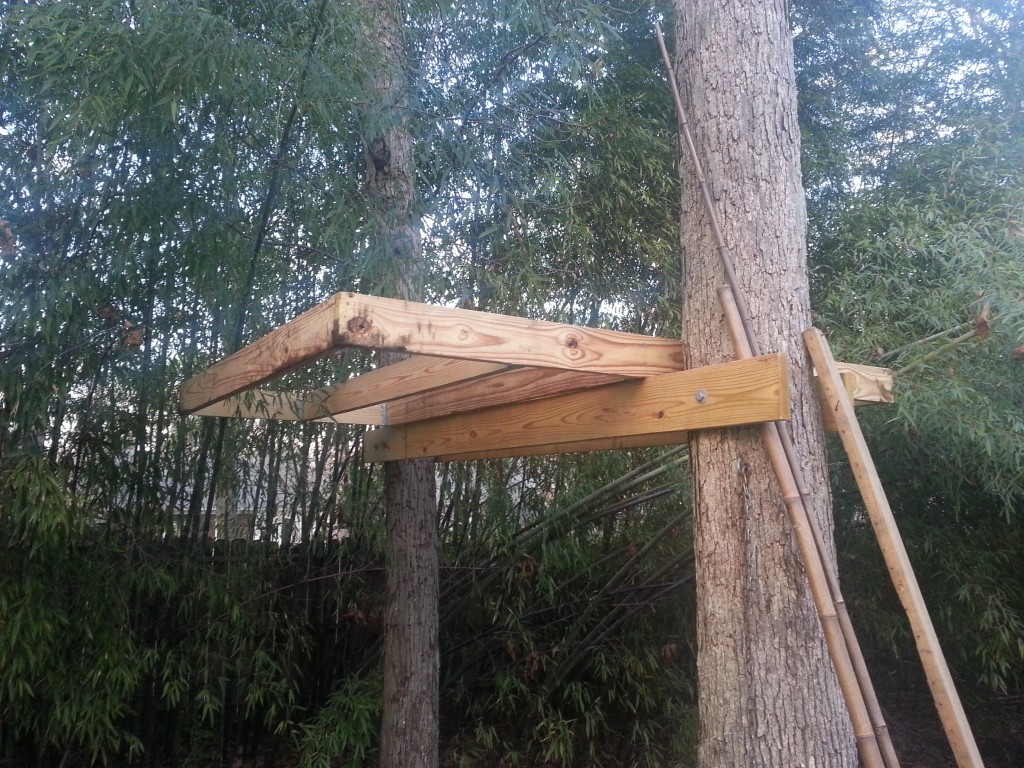
Heavy lifting done. Wasn’t so bad.

Held in place with rafter ties– also very important. You don’t want it sliding or tipping when full of giggling 7 year old girls, now do you? Very cheap and will hold everything level. Don’t skimp on the important parts.

In order to prevent the ends from sagging and to add both additional support and stability I added cross braces on each corner. Drill thru the boards and the 2 by fours then use a long bolt. The trees are gonna sway a little and so is your tree house so these are tight but able to move a little bit in case of a storm.

Cross brace swaying in the breeze.
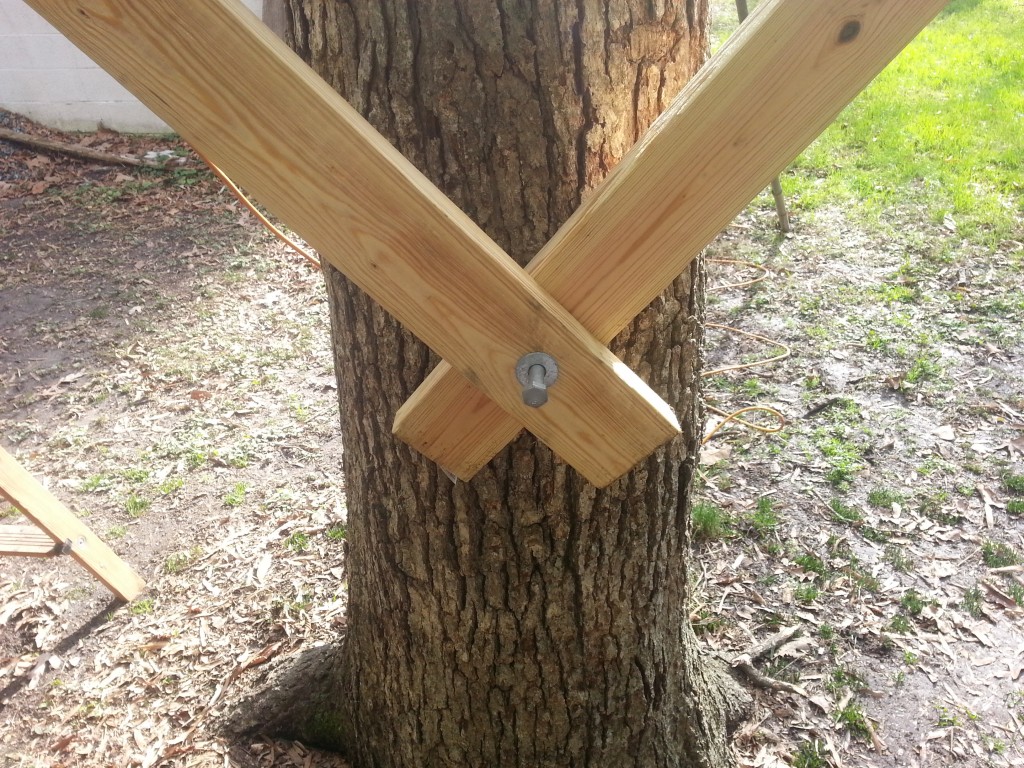
And bolted to the tree. All tightened up with washers on the inside and out to keep it moveable and keep water from getting trapped.

Platform in place with cross braces. Just like in deck construction.

View from the top. I am going to have to cut down some more bamboo to make room but it looks pretty good…
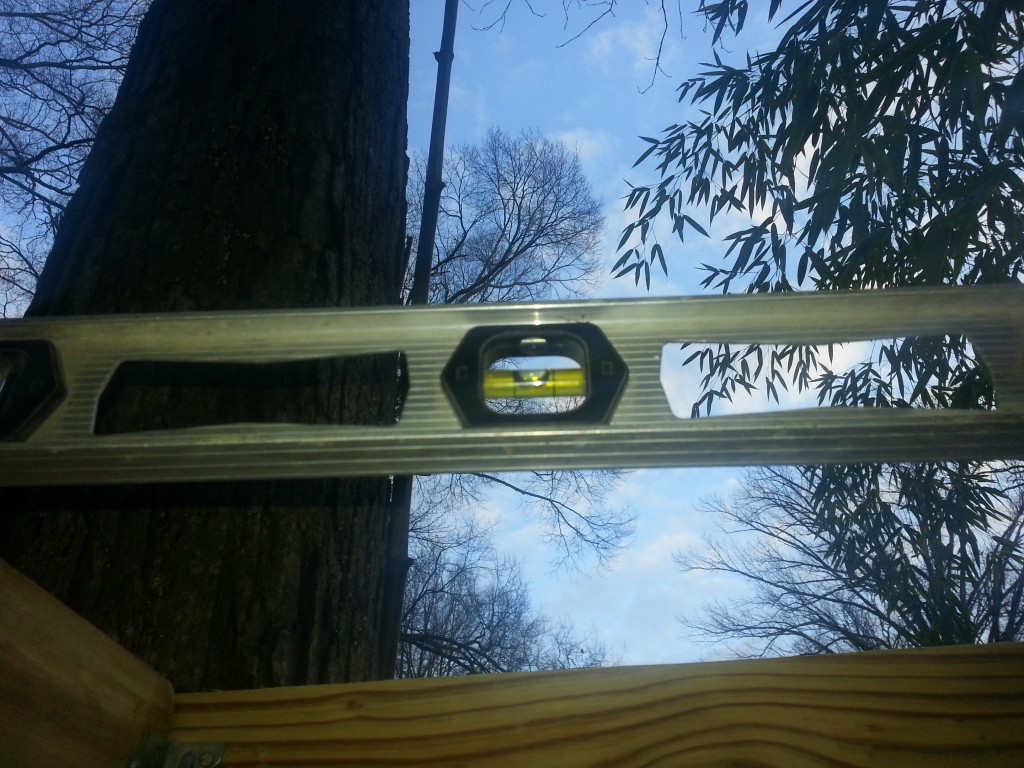
And level. Level is good. Level is so good. I use a 3 foot but if you have a bigger one that’s even better. Pretty close to spot on. Not too shabby- remember, I am an amateur, not a builder or framer.
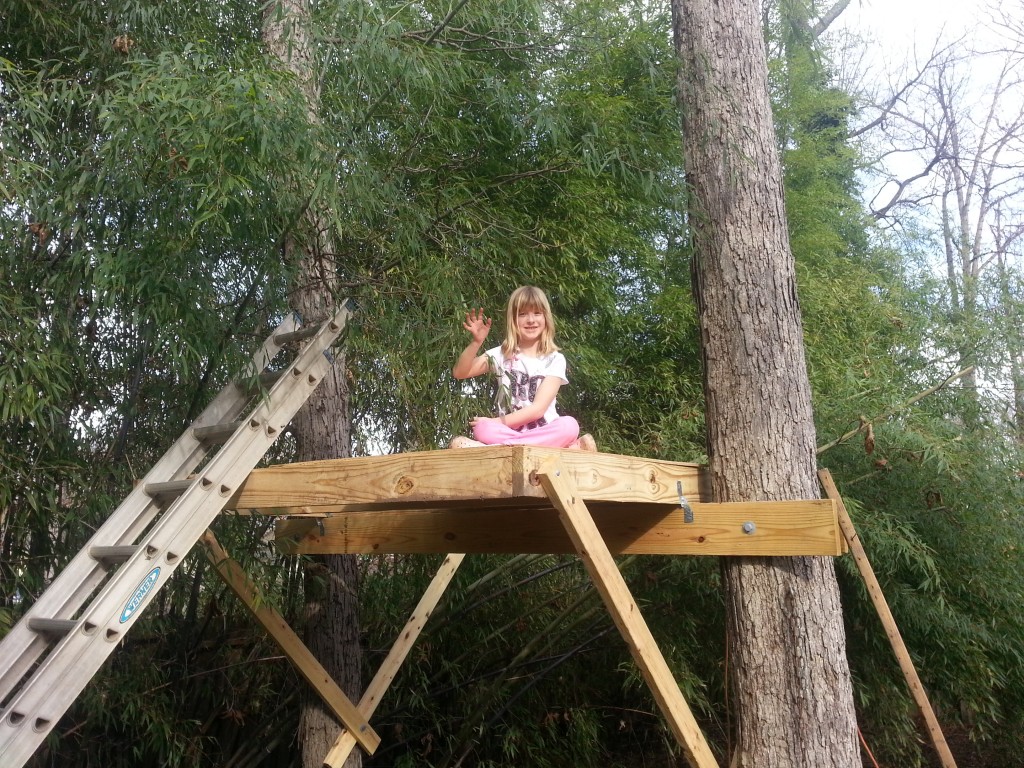
I slapped a piece of plywood up so the child could actually sit up there and see what it will be like finished. She was a little skittish of the ladder so we’ll have to build a good ladder sooner rather than later I guess. The height wasn’t so bad and she’ll get more comfortable with it after there’s a floor.

And a view of the platform from the kitchen window. Perfect for mom and dad to keep an eye on it. I may run power out to it with a webcam so I can keep an eye on what’s going on inside the house once it’s finished.
So that’s the end of Phase Two. Phase three is the flooring- we’ll be decking the front section and plywood on the back. Two layers so we don’t have any sagging.