

oh man. The roof. The ROOOOOOFFFF!
So what happened is this. As I was putting it all together I remembered that I had that issue with one tree not growing straight up (mentioned back here) and how I had to move the base over a little to accommodate it. Apparently I didn’t move it enough- mainly because I didn’t have any more room to move it! And as I was putting on the siding I realized that I was going to have a problem. So I decided to go ahead and put the roof on before I had the siding completed while the framework was still flexible and to see if that would help straighten things out. It kinda did. And it kinda didn’t.
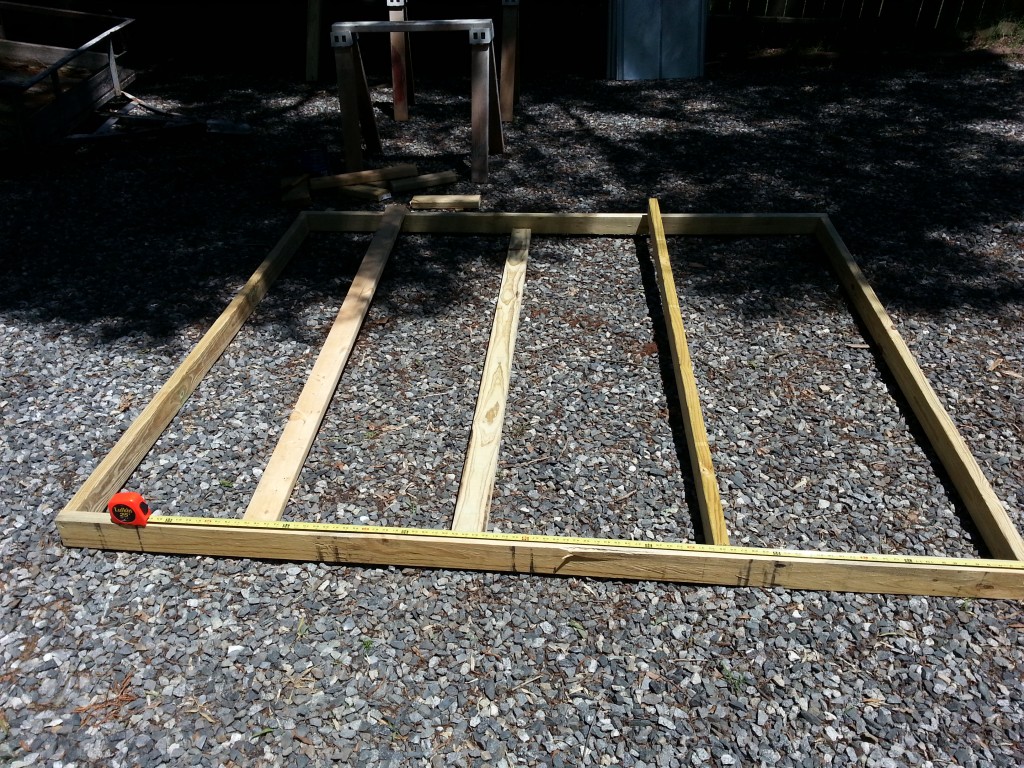
 Let’s put this thing together first. Framed out another one, this one had to be over 7 feet wide and I made it 8 feet long so a) it would hang over the front and the back and b) I didn’t have to trim off any excess. Yay easy!
 So we mused old school sheet metal roofing or what grandma used to call Tin roof (Yet it might rust… ) and the metal was 2 feet so we did inserts 2 feet on center. Like we have done before. If you have made it this far then you know what I mean. If you don’t, please start at the beginning.
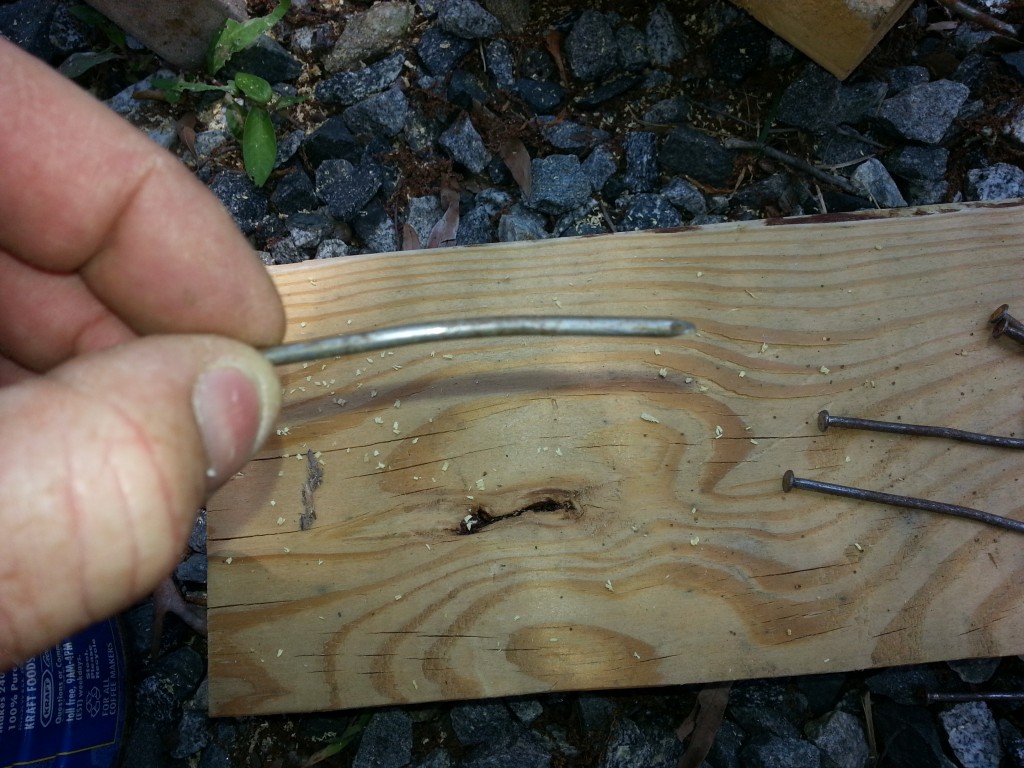 As I was running low on nails again, I used my grandad’s trick of straightening old bent nails. Very hand when you’ve nailed that sucker, had to pull it out and when you did it came out all bent.

I straightened a bunch that day.
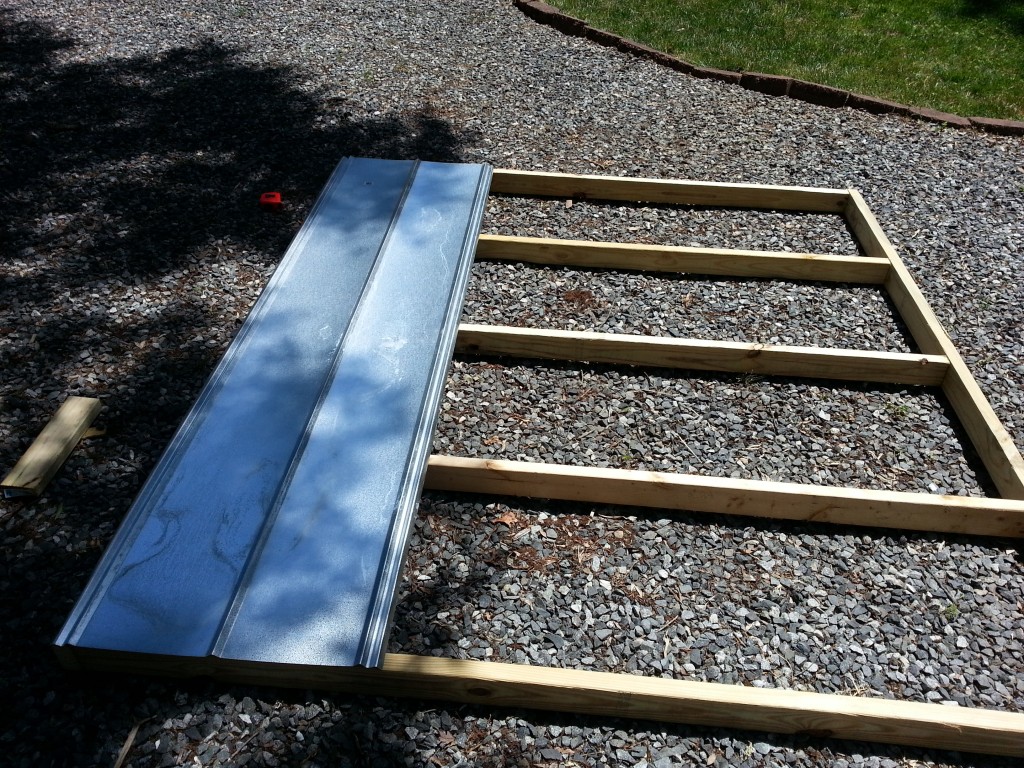 Ok so the frame is together (won’t bore you with those details again!) and it’s time to start putting the metal on. Notice it goes perpendicular to the framework. Added strength and support and whatnot. In case I ever have to walk on it.
 The roofing is made with overlaps so you can have one piece on top of another to keep it from leaking. For those of you who have never dealt with this sort of thing before.
 The nails go right into the channels. Be sure to slap some roof tar on them or use roofing washers. Keeps you from springing any leaks down the road.
 Little over half done…
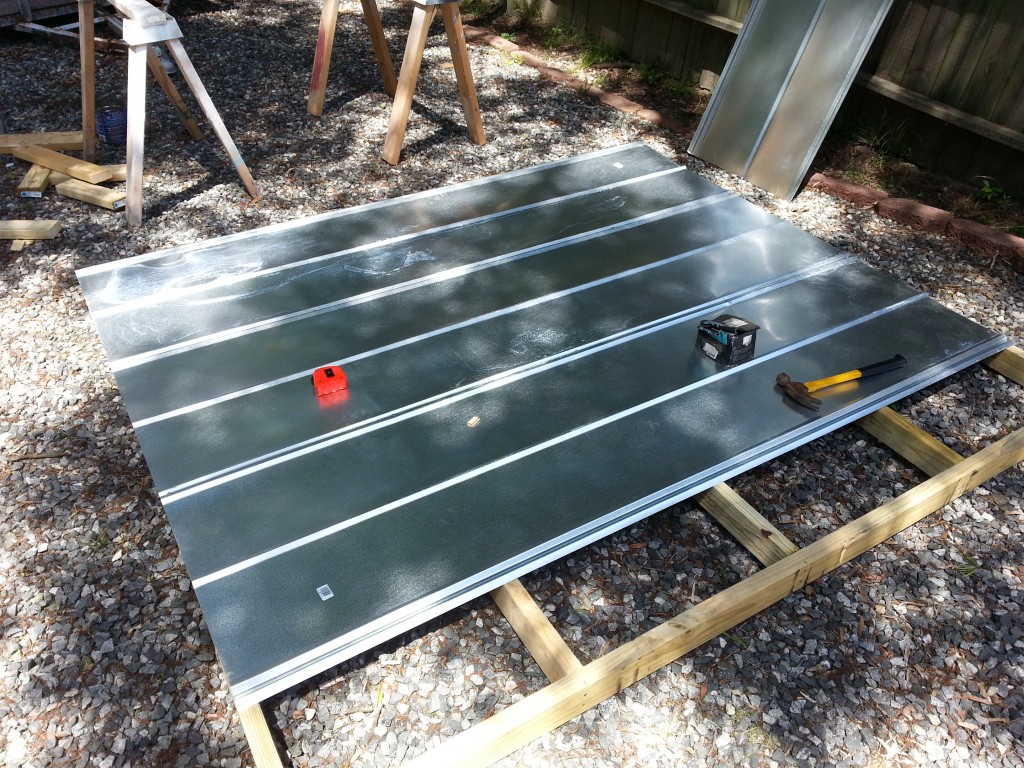 Almost there…
 And of course I had too much so the edge had to be trimmed. Left a little bit on each side as a drip edge too.
 Done and done!
 Of course once I had it finished I realized how heavy it was. I should have put the metal on it AFTER I got the frame into place. Fortunately I had the hand winch that I had to use to square off everything against the stupid tree.
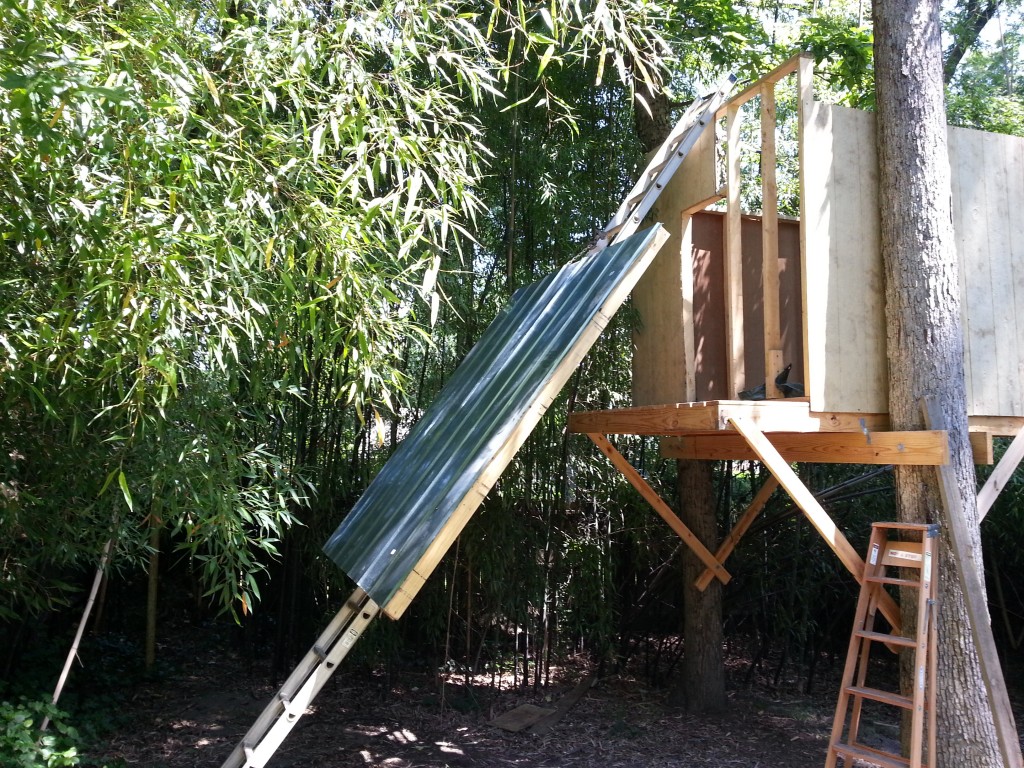
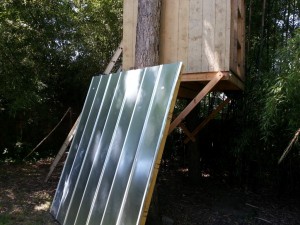
I used the ladder as a ramp and winched it up into place.
 Here it is all balanced and ready to drop into place.
This was probably not the wisest thing I have ever done but I looped it around the ladder so that I was nowhere near it if it came crashing down. Wouldn’t want to have that thing crashing down on me.
 Here is an interior shot once it was in place. Notice the back left corner- just barely sits on the frame. I used brackets to hold it in place. The roof is square but I had to use the hand winch to pull the building framework into place. So the frame doesn’t sit perfectly on the framework. But it’s there and it keeps most of the rain out.
 Not too shabby.