

Ok so Phase One, Phase Two and Phase Three are all done. Time to make this thing start looking like a house.
 So we gotta make 4 sides, 3 of them at 6 feet tall and one at 7 feet (so I can slope the roof to keep rain out). So we start framing like crazy. This one is 6 feet tall. The day we started framing it was dumping rain so we did it inside.
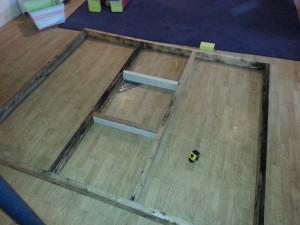
We (I say “we” because the child was “helping” me) decided to frame the back side first and it has a window so we measured out where the window was going to be first- 2 foot wide area with a window right in the middle.

And of course it needed to be perfectly square…

6 feet tall with a window in the middle needs to be 2 feet down exactly so we set the 2 by 4 frame for the window at 2 feet on center. Of course you remember from Phase Two how to frame so that it is exactly 6 feet tall so I won’t bore you with those details again.
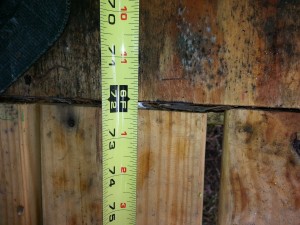
Ok so we got this thing. Framed up for the window. I should check and make sure the height is right…
 Yep perfect. Will put shutters on it once we’re up.
 And of course I didn’t want to waste any 2 by 4’s and we had a few that were a little short so we cheated and made some the right length by scabbing onto the short ones with extra pieces we had laying around. This process can also be referred to as “Sistering” or adding a beam to a weak beam to strengthen it. This one, as you can see, is too short.

So we take one short stub of board and add one section to make it the right length and make sort of a foot for it.

Final product looks like this. We added just enough to make the right length, nailed it together a lot and tho I would NEVER do this in a house or for a deck, this will work fine for a tree house. It’s a tree house. 🙂
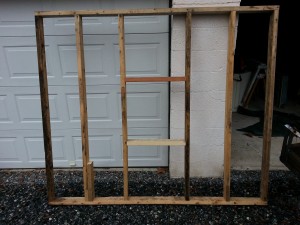
Finished product, with window framed in it. Normally for a house you would add many more supports under the window frame to support the weight of a big wooden or metal window but we don’t need them. It’s a tree house.
Now this is just one side. We have a total of FOUR we have to make…

More “found” wood. Some wood I got from garbage piles at new construction, some I had laying around. It’s the inside and it only supports the weight of the siding and the roof- they ain’t gotta be pretty like the deck or anything.

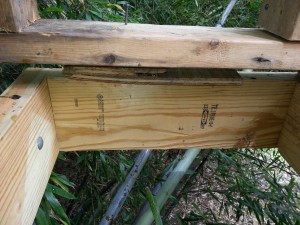
This is the 7 foot one with the door way. We’re leaving the whole thing framed, even the base of the doorway. We need to leave it so we can have it strong and square til we get it nailed into place and then we’ll take it out.

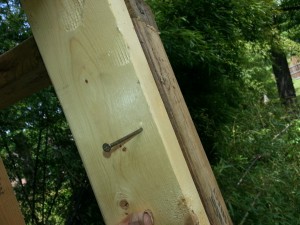
I put in one 2 foot hanger for the doorway but even tho the space between the boards was right on the board was a little bent. Sometimes the 2 by 4 “crowns” or bends upward or downward the wrong way and when you get it together, even tho it is the right length, it just won’t stay nailed together. So we have to help it along a little.
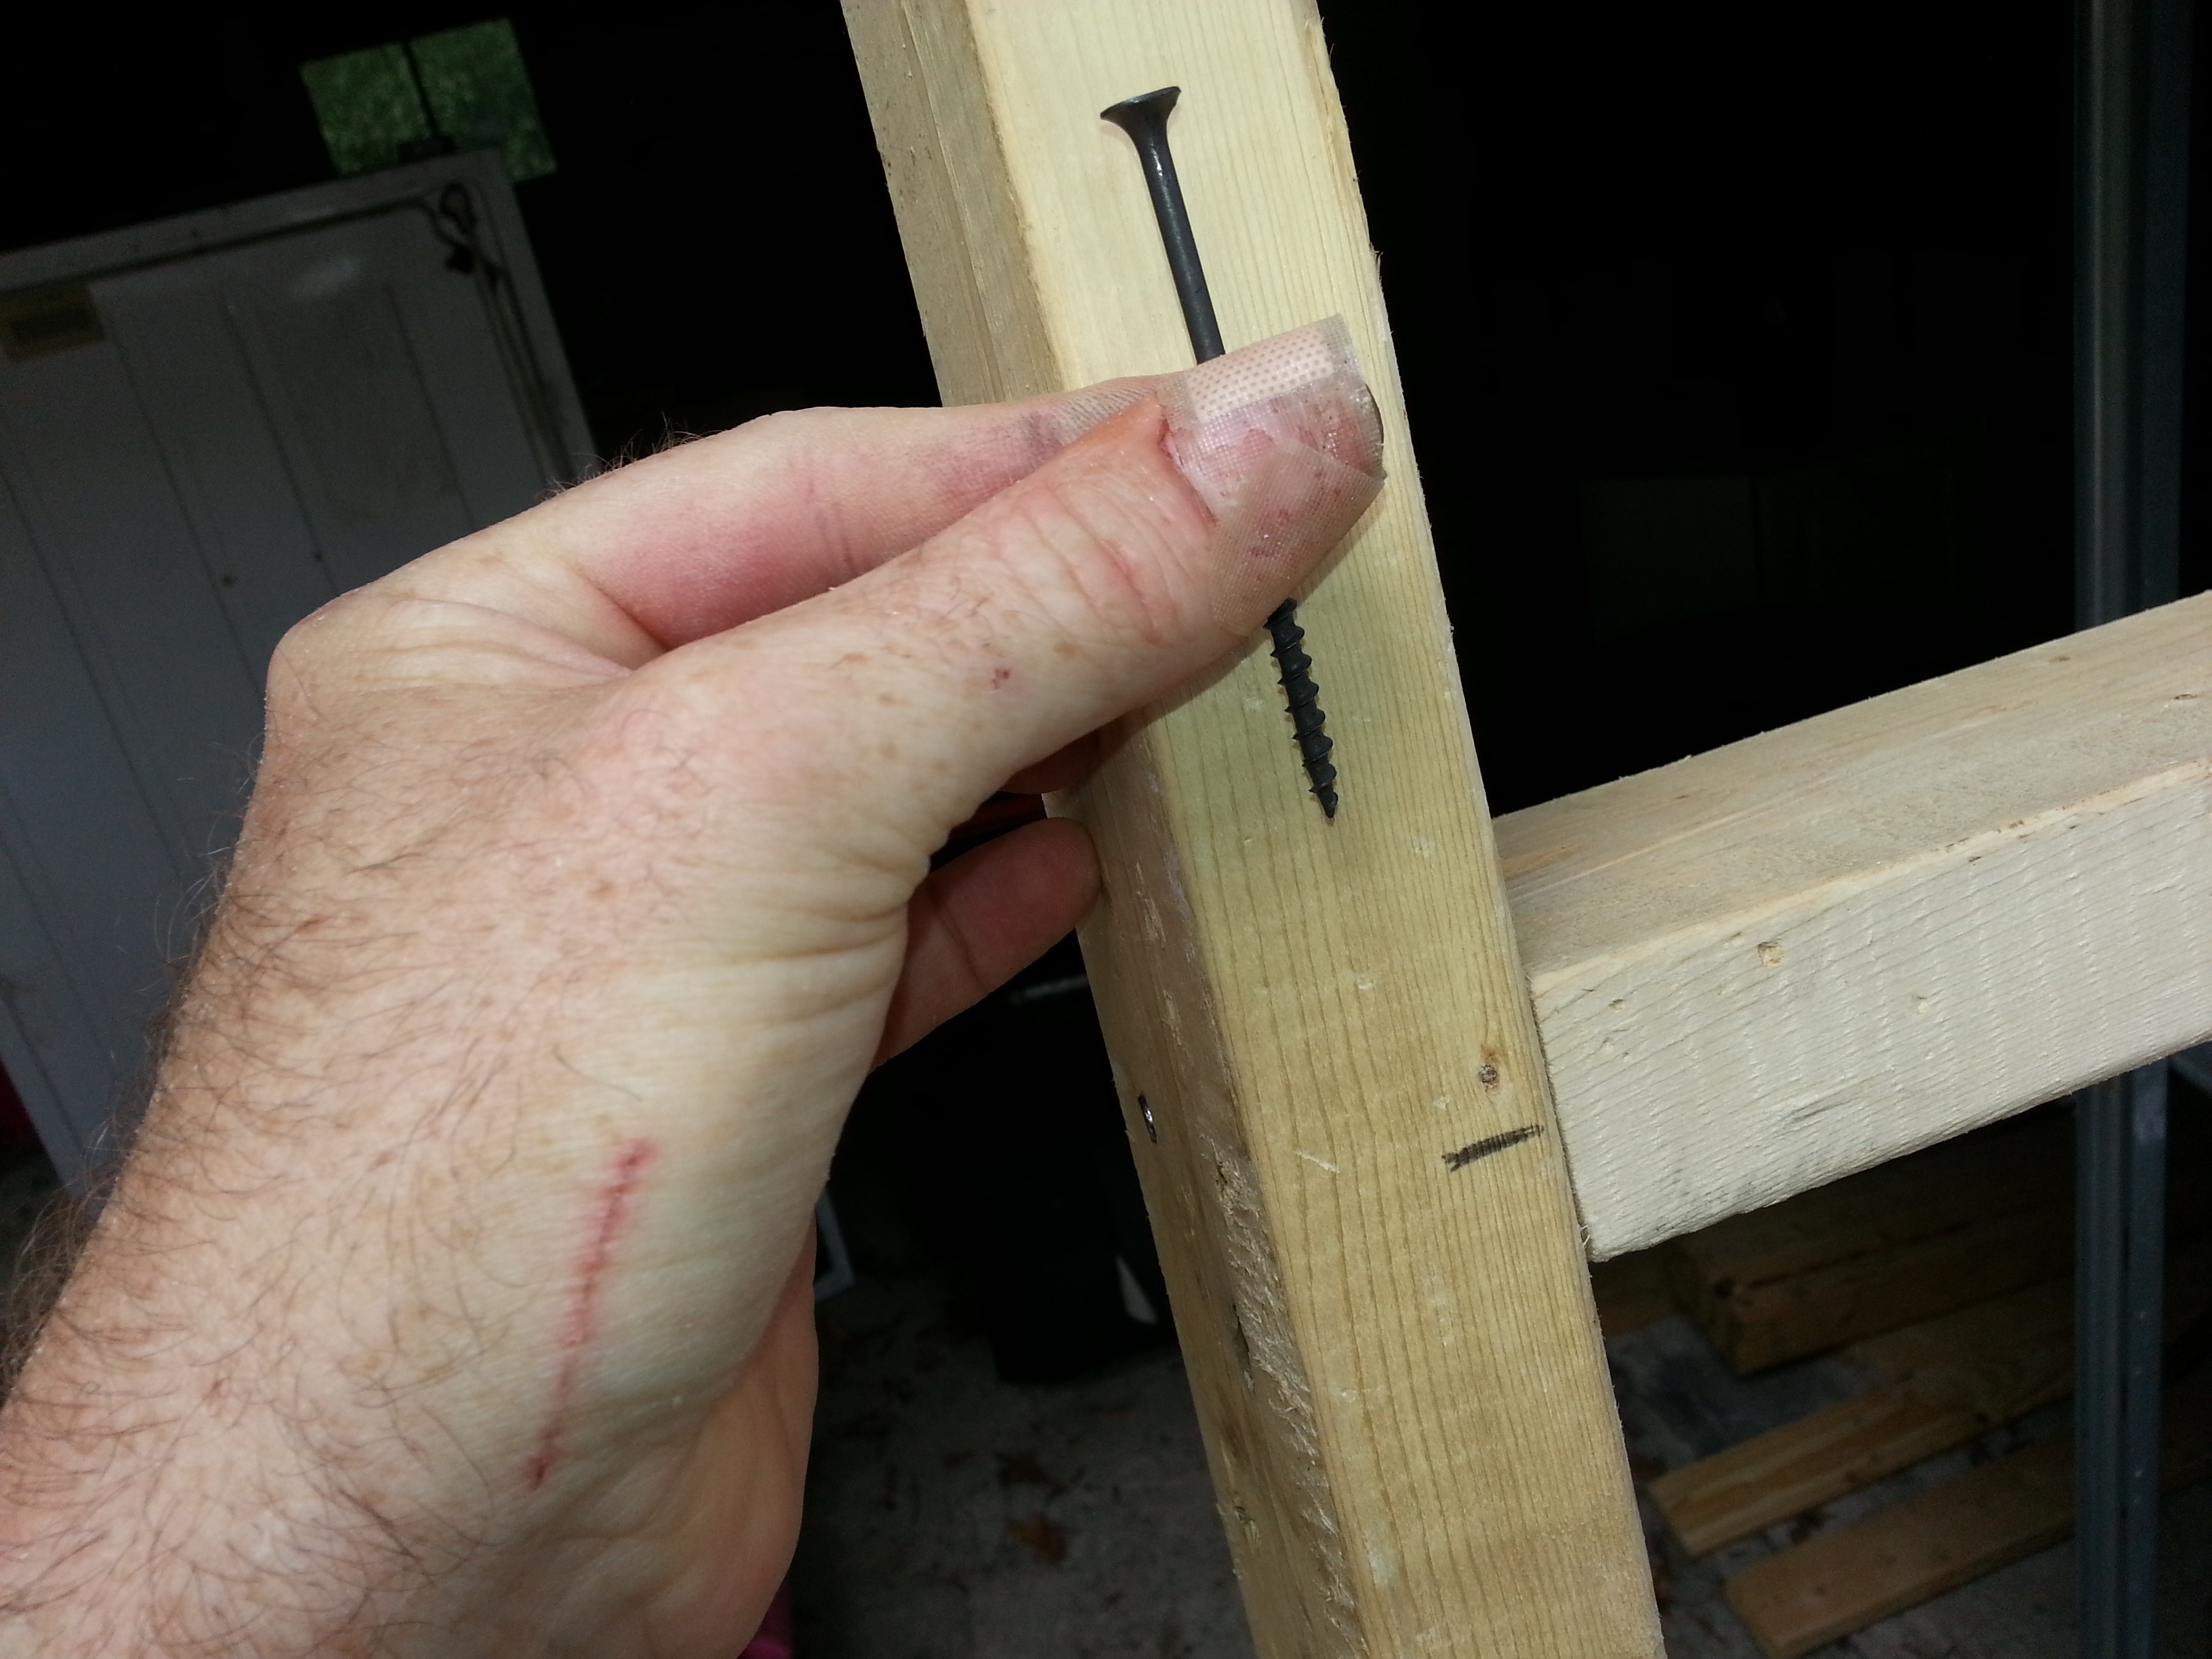
Nothing a big ol Sheet rock screw won’t fix.
Boom. Snug as a bug in a rug. Take that wonky 2 by 4. You will do what I say!
Now remember we have to make it 6 foot by 7 foot SQUARE so we have to take off for the framed bottom. Once we get the front and back up we will have to measure to take out for the 2 by 4 framing.

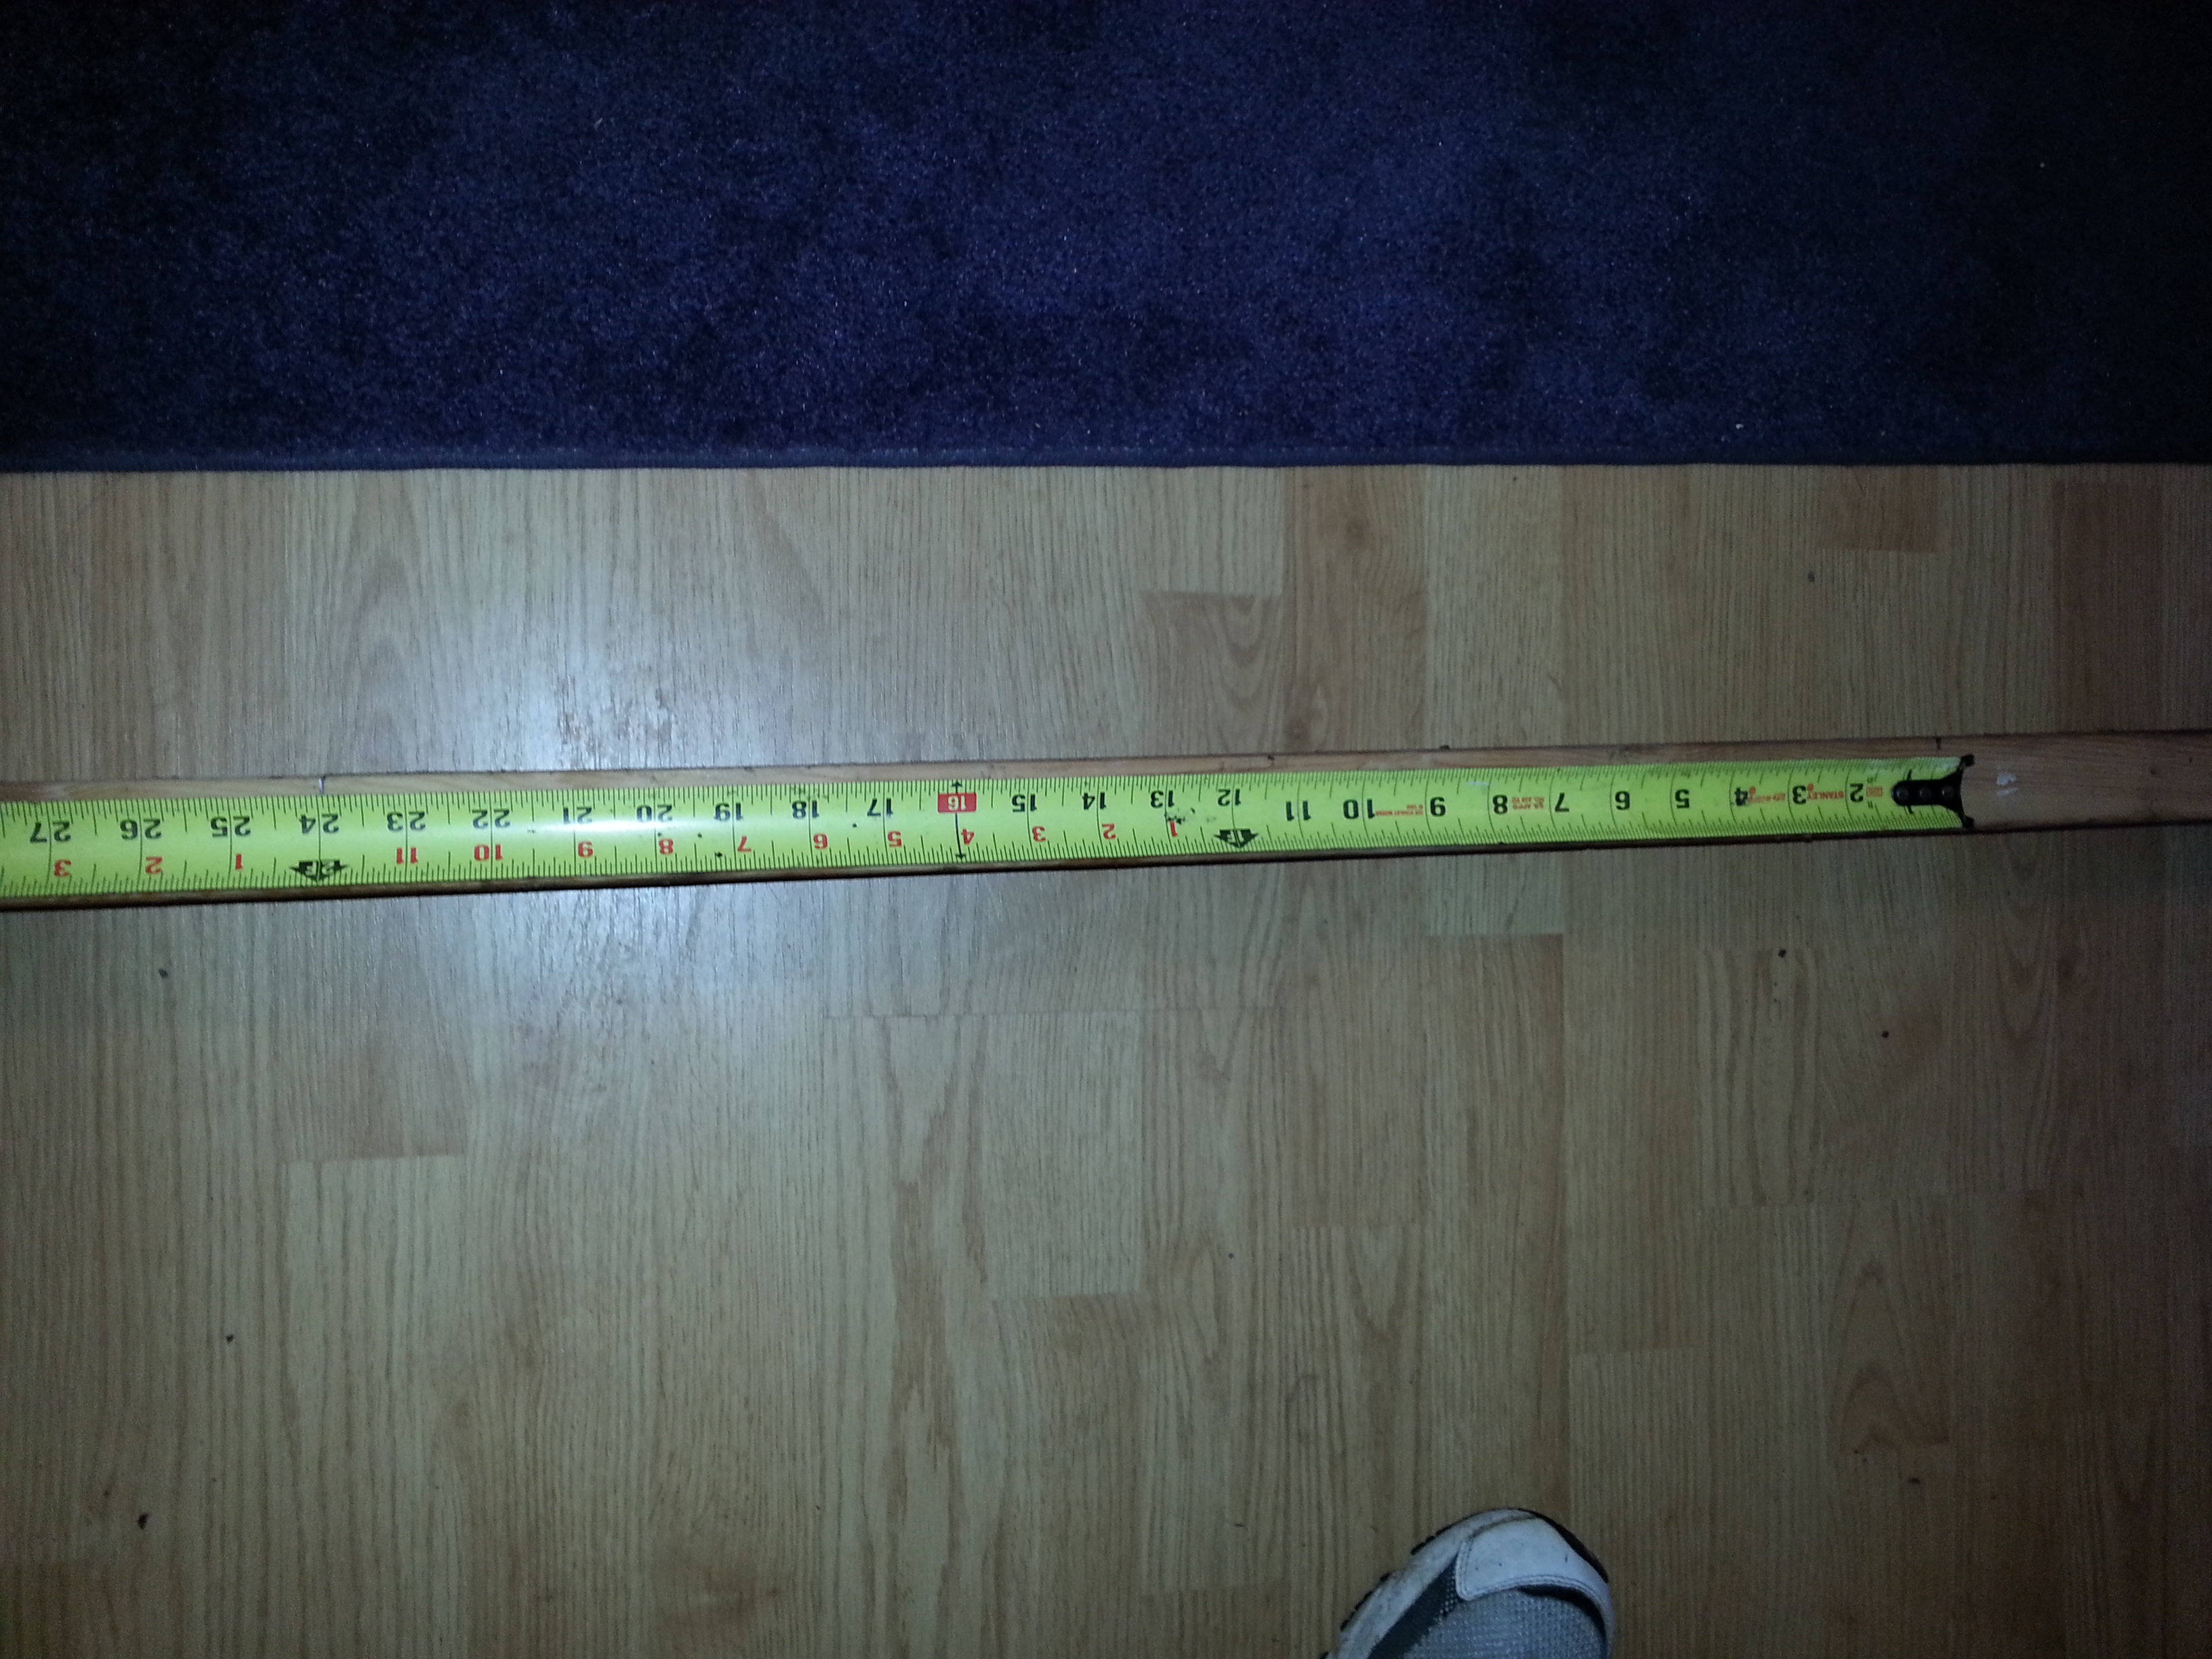
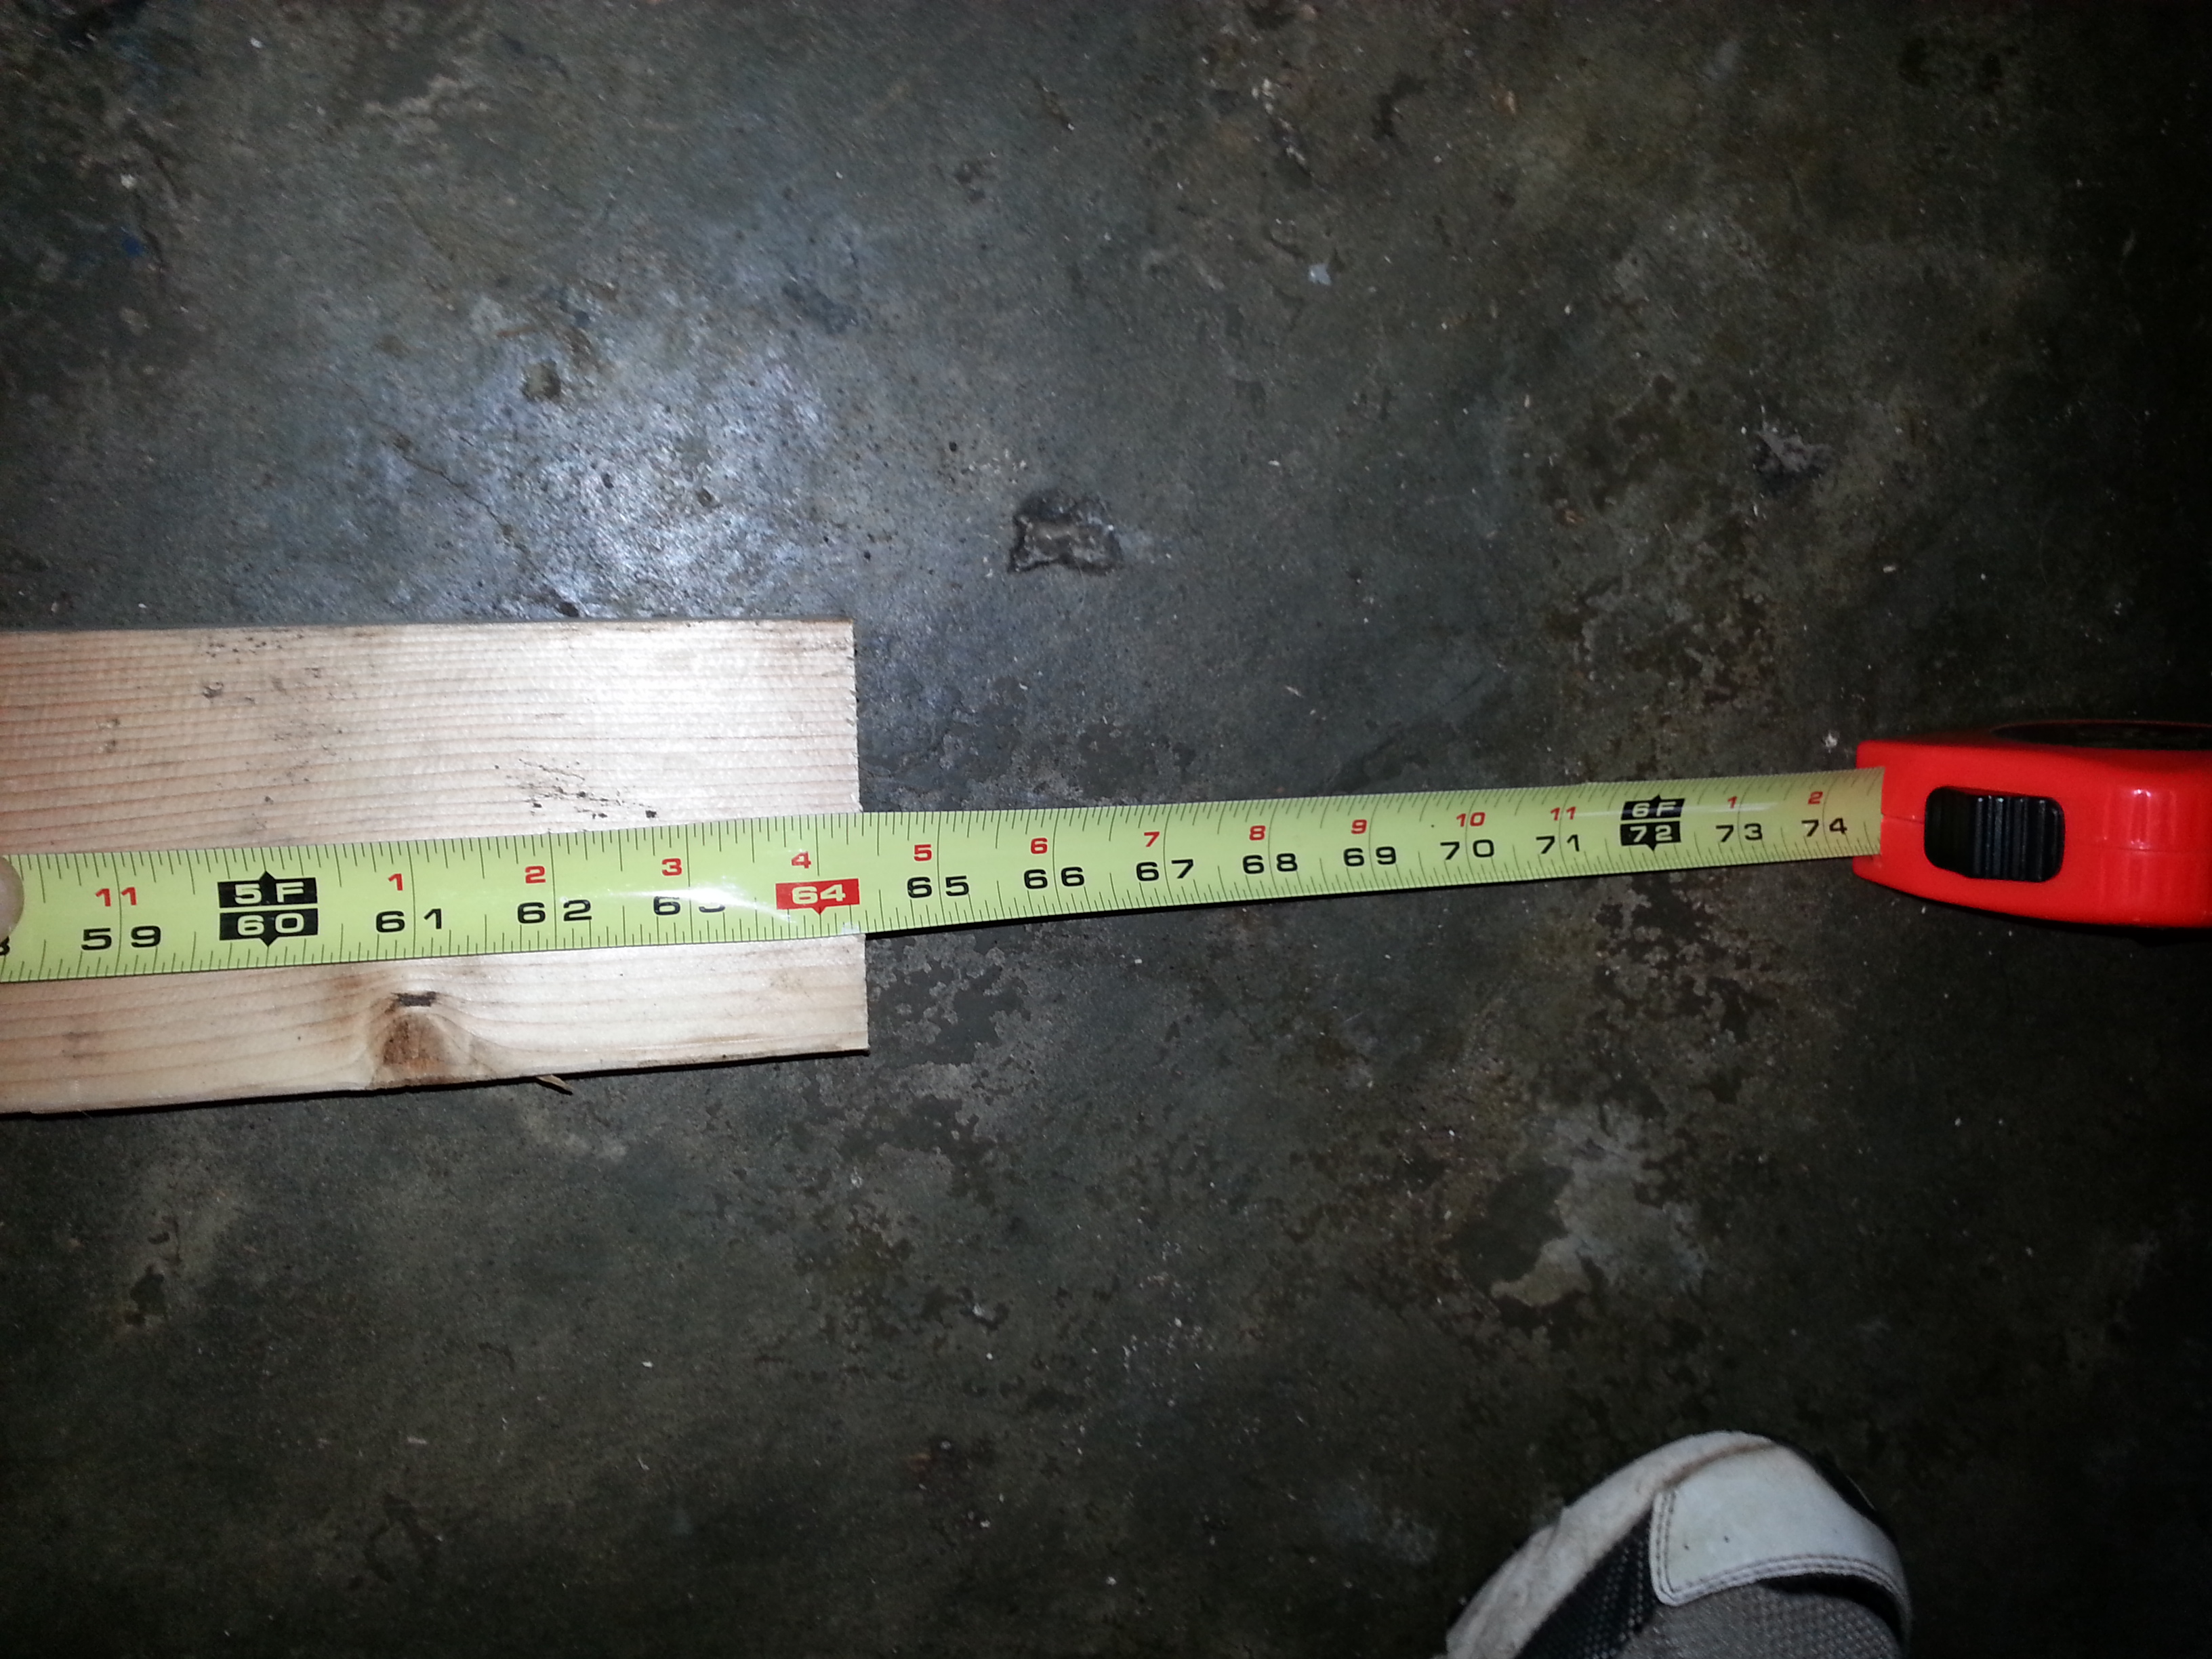
3.5 inches on one side…
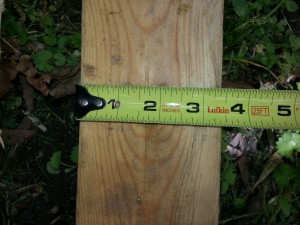
and 3.5 inches on the other. Fortunately these particular 2 by 4’s were the same size!
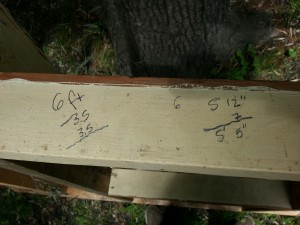
So if you are keeping track, and I hope you are cause there will be a test on this later, the length of the side frames will have to be 6 feet minus 7 inches. Or 5 feet, 5 inches, displayed here in my Side of the Board scribbles as 5’5″ So we need two frames each 6 feet tall and 5 feet 5 inches wide (or long depending on how you look at it).

I built two more frames to the right specs so I won’t bore you with the details of that but suffice it to say I built two more with no windows or doors. I then hauled them up to the deck and nailed them into place thru the bottom board.

Of course with only one frame up I need to support it. They support each other once they are nailed into place and together.
Of course I had cut out for the trap door so where I had no plywood for the decking I have a small gap that I filled in with pieces of plywood. It’s not the best but again, it’s a tree house.
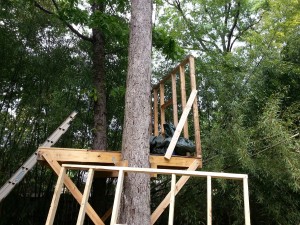
Side view of the first platform in place. Front platform is lying against the tree about to be hauled up to the top. With my own two hands. And legs and arms and whatnot.

Once I got the platform into place I noticed that one of the cross beam supports was actually in the trap door area. Combined with the loss of area due to the framing the hole was getting smaller and smaller so I moved the support to the outside of the hole. Disconnected the attachment to the tree and switching the supports allowed me to put it on the outside of the platform making more room to crawl up.
This was fortuitous, as you will see in a few photos.
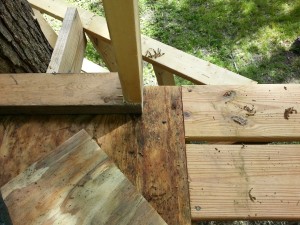
Side one in place, nailed to the back. Leaving just enough room for the front. 3.5 inches to be exact. Cause we measured the width of the board that would be the base of the front frame beforehand- in a moment you will see what happens when you forget to measure properly.
Nailed the side frames together. Nails are my favorite- they support more weight than screws.

Back and one side up and running. Notice that not as many boards went into the framing of the side- that’s cause a) every board is more weight and I want less weight, b) the side is only holding up the siding- not the roof, a window or anything else- just mainly to keep people from falling off and keep rain out and c) it’s a tree house, not a house. Had to keep reminding myself of that.
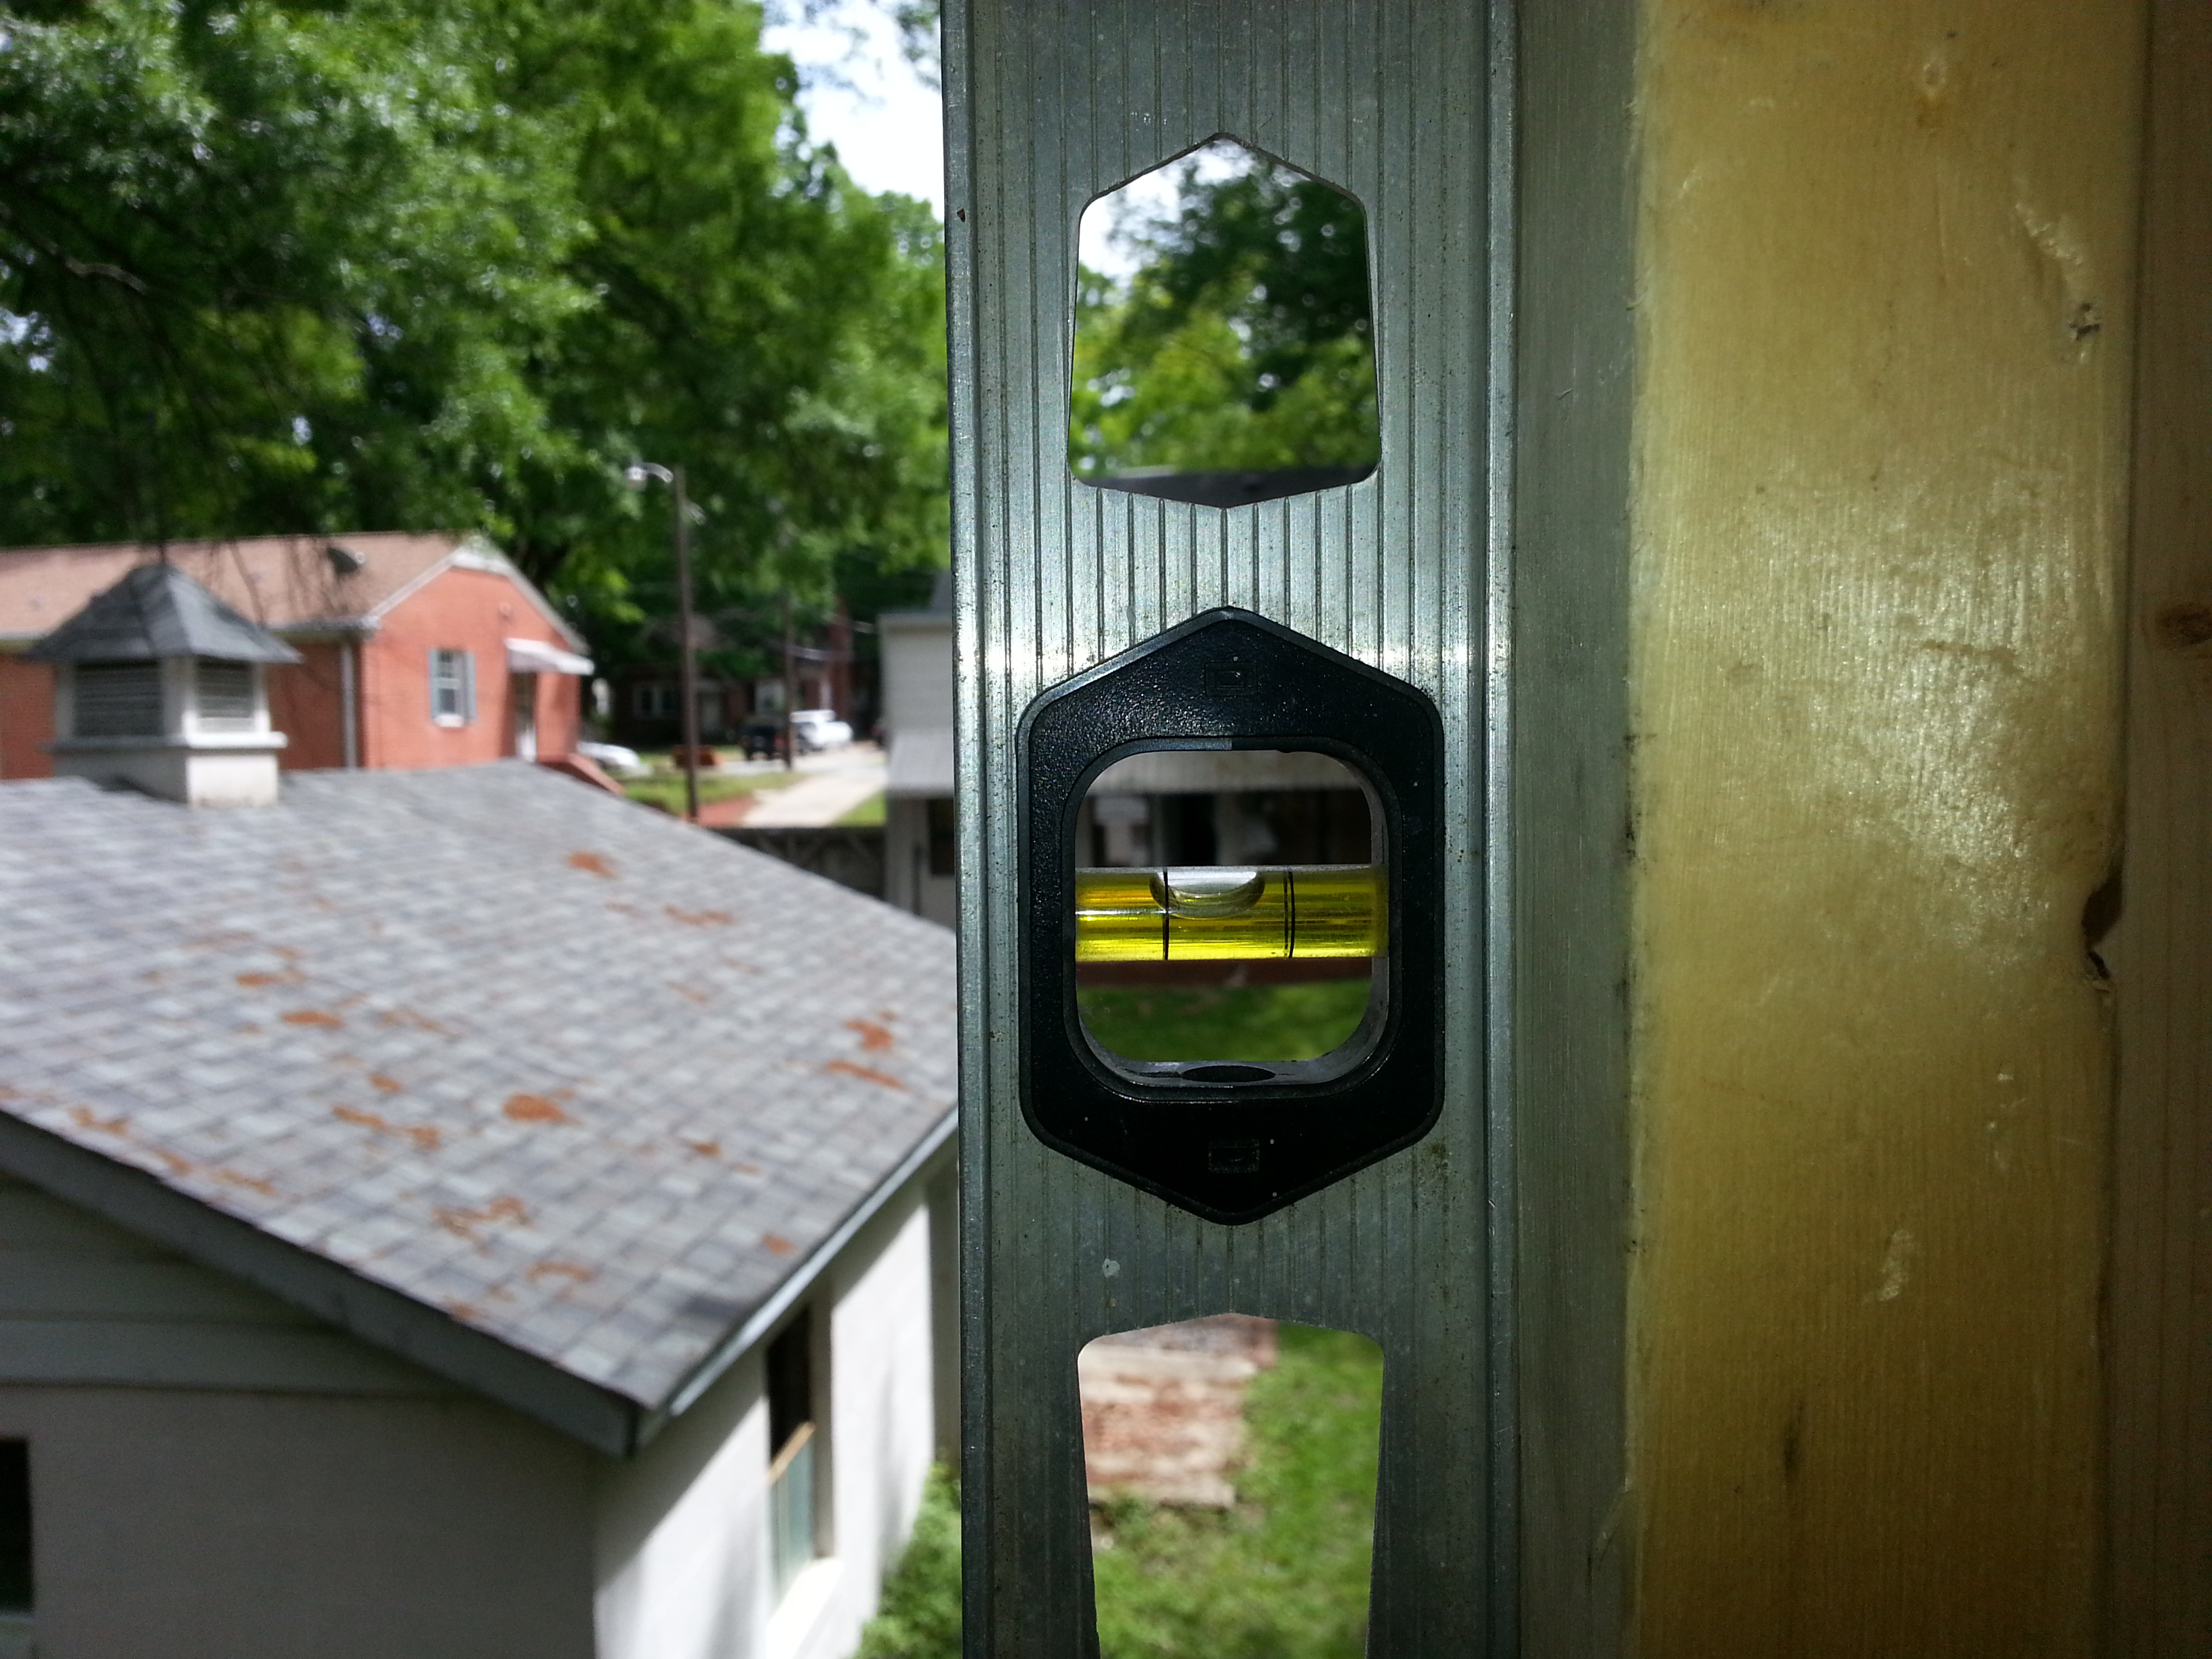
Level on the front? close enough!

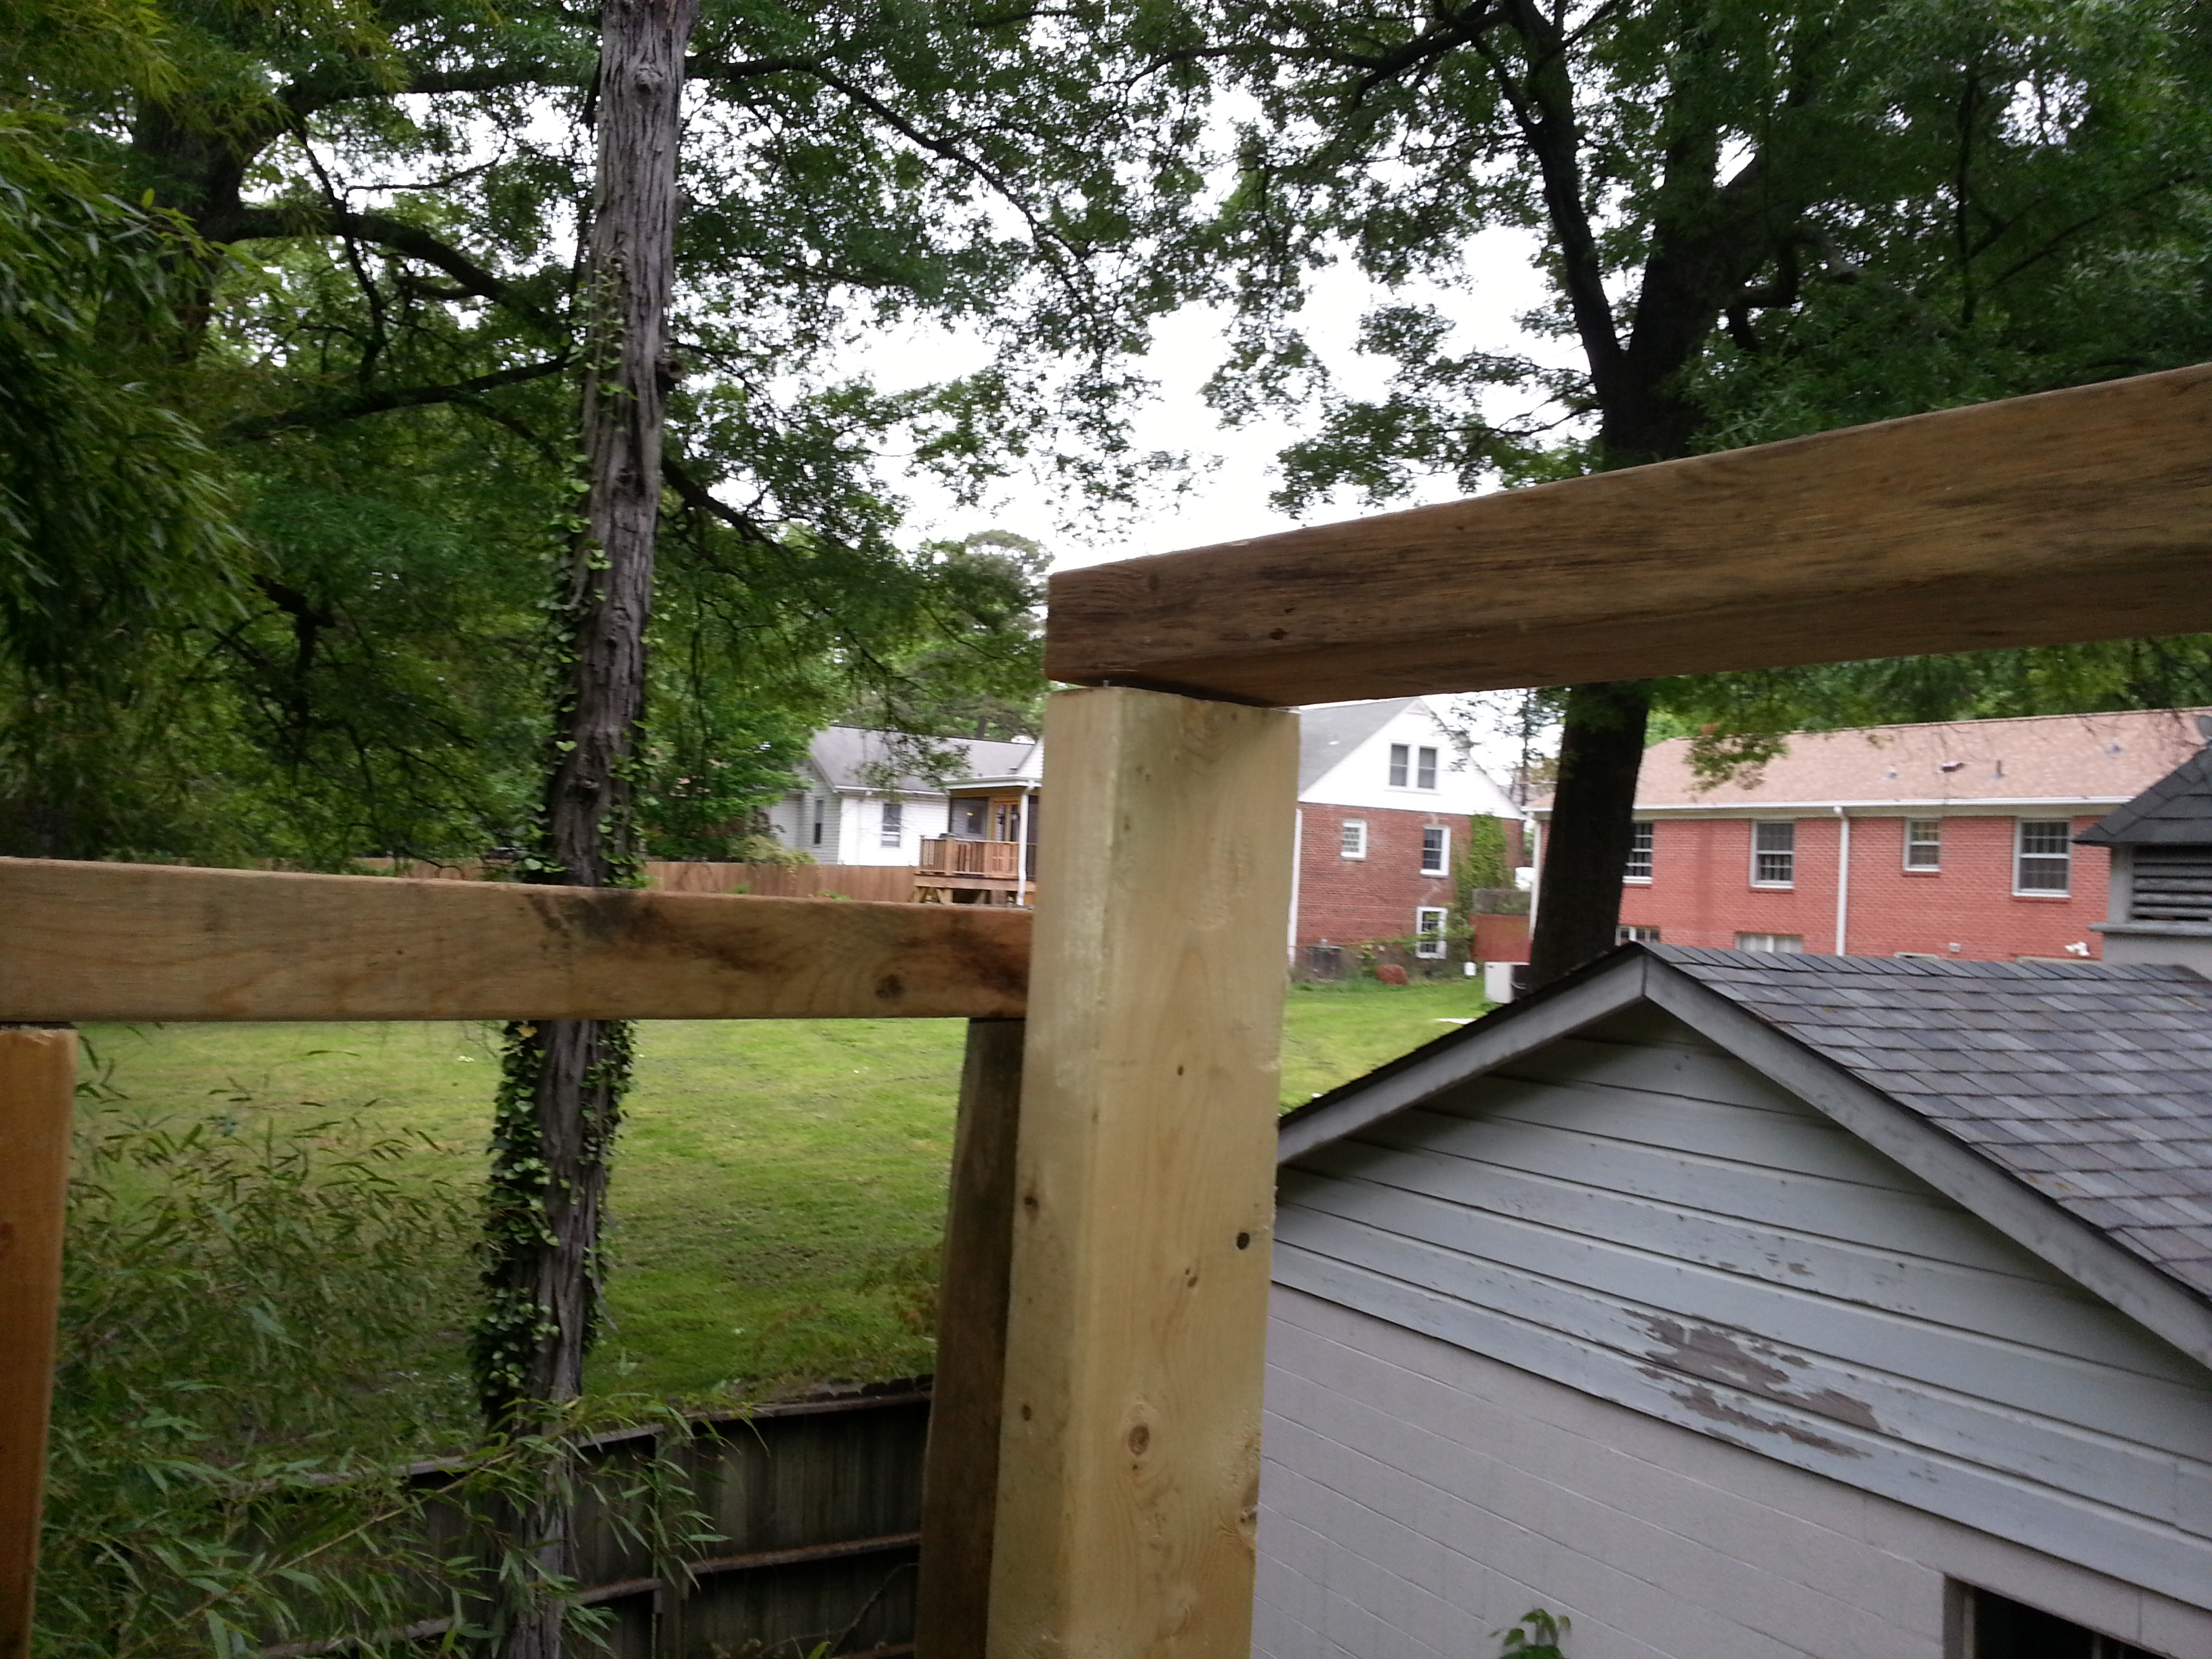
Wait, what is going wrong here? Apparently we are not level on the side. Uh oh…

I neglected to take into consideration that trees do not grow straight up and down. This tree on the right side is growing toward the inside, and now one of my sides isn’t plumb at all. Ooops. Ooops is a substitute for the obscenities that issued forth from my mouth when I discovered this problem.
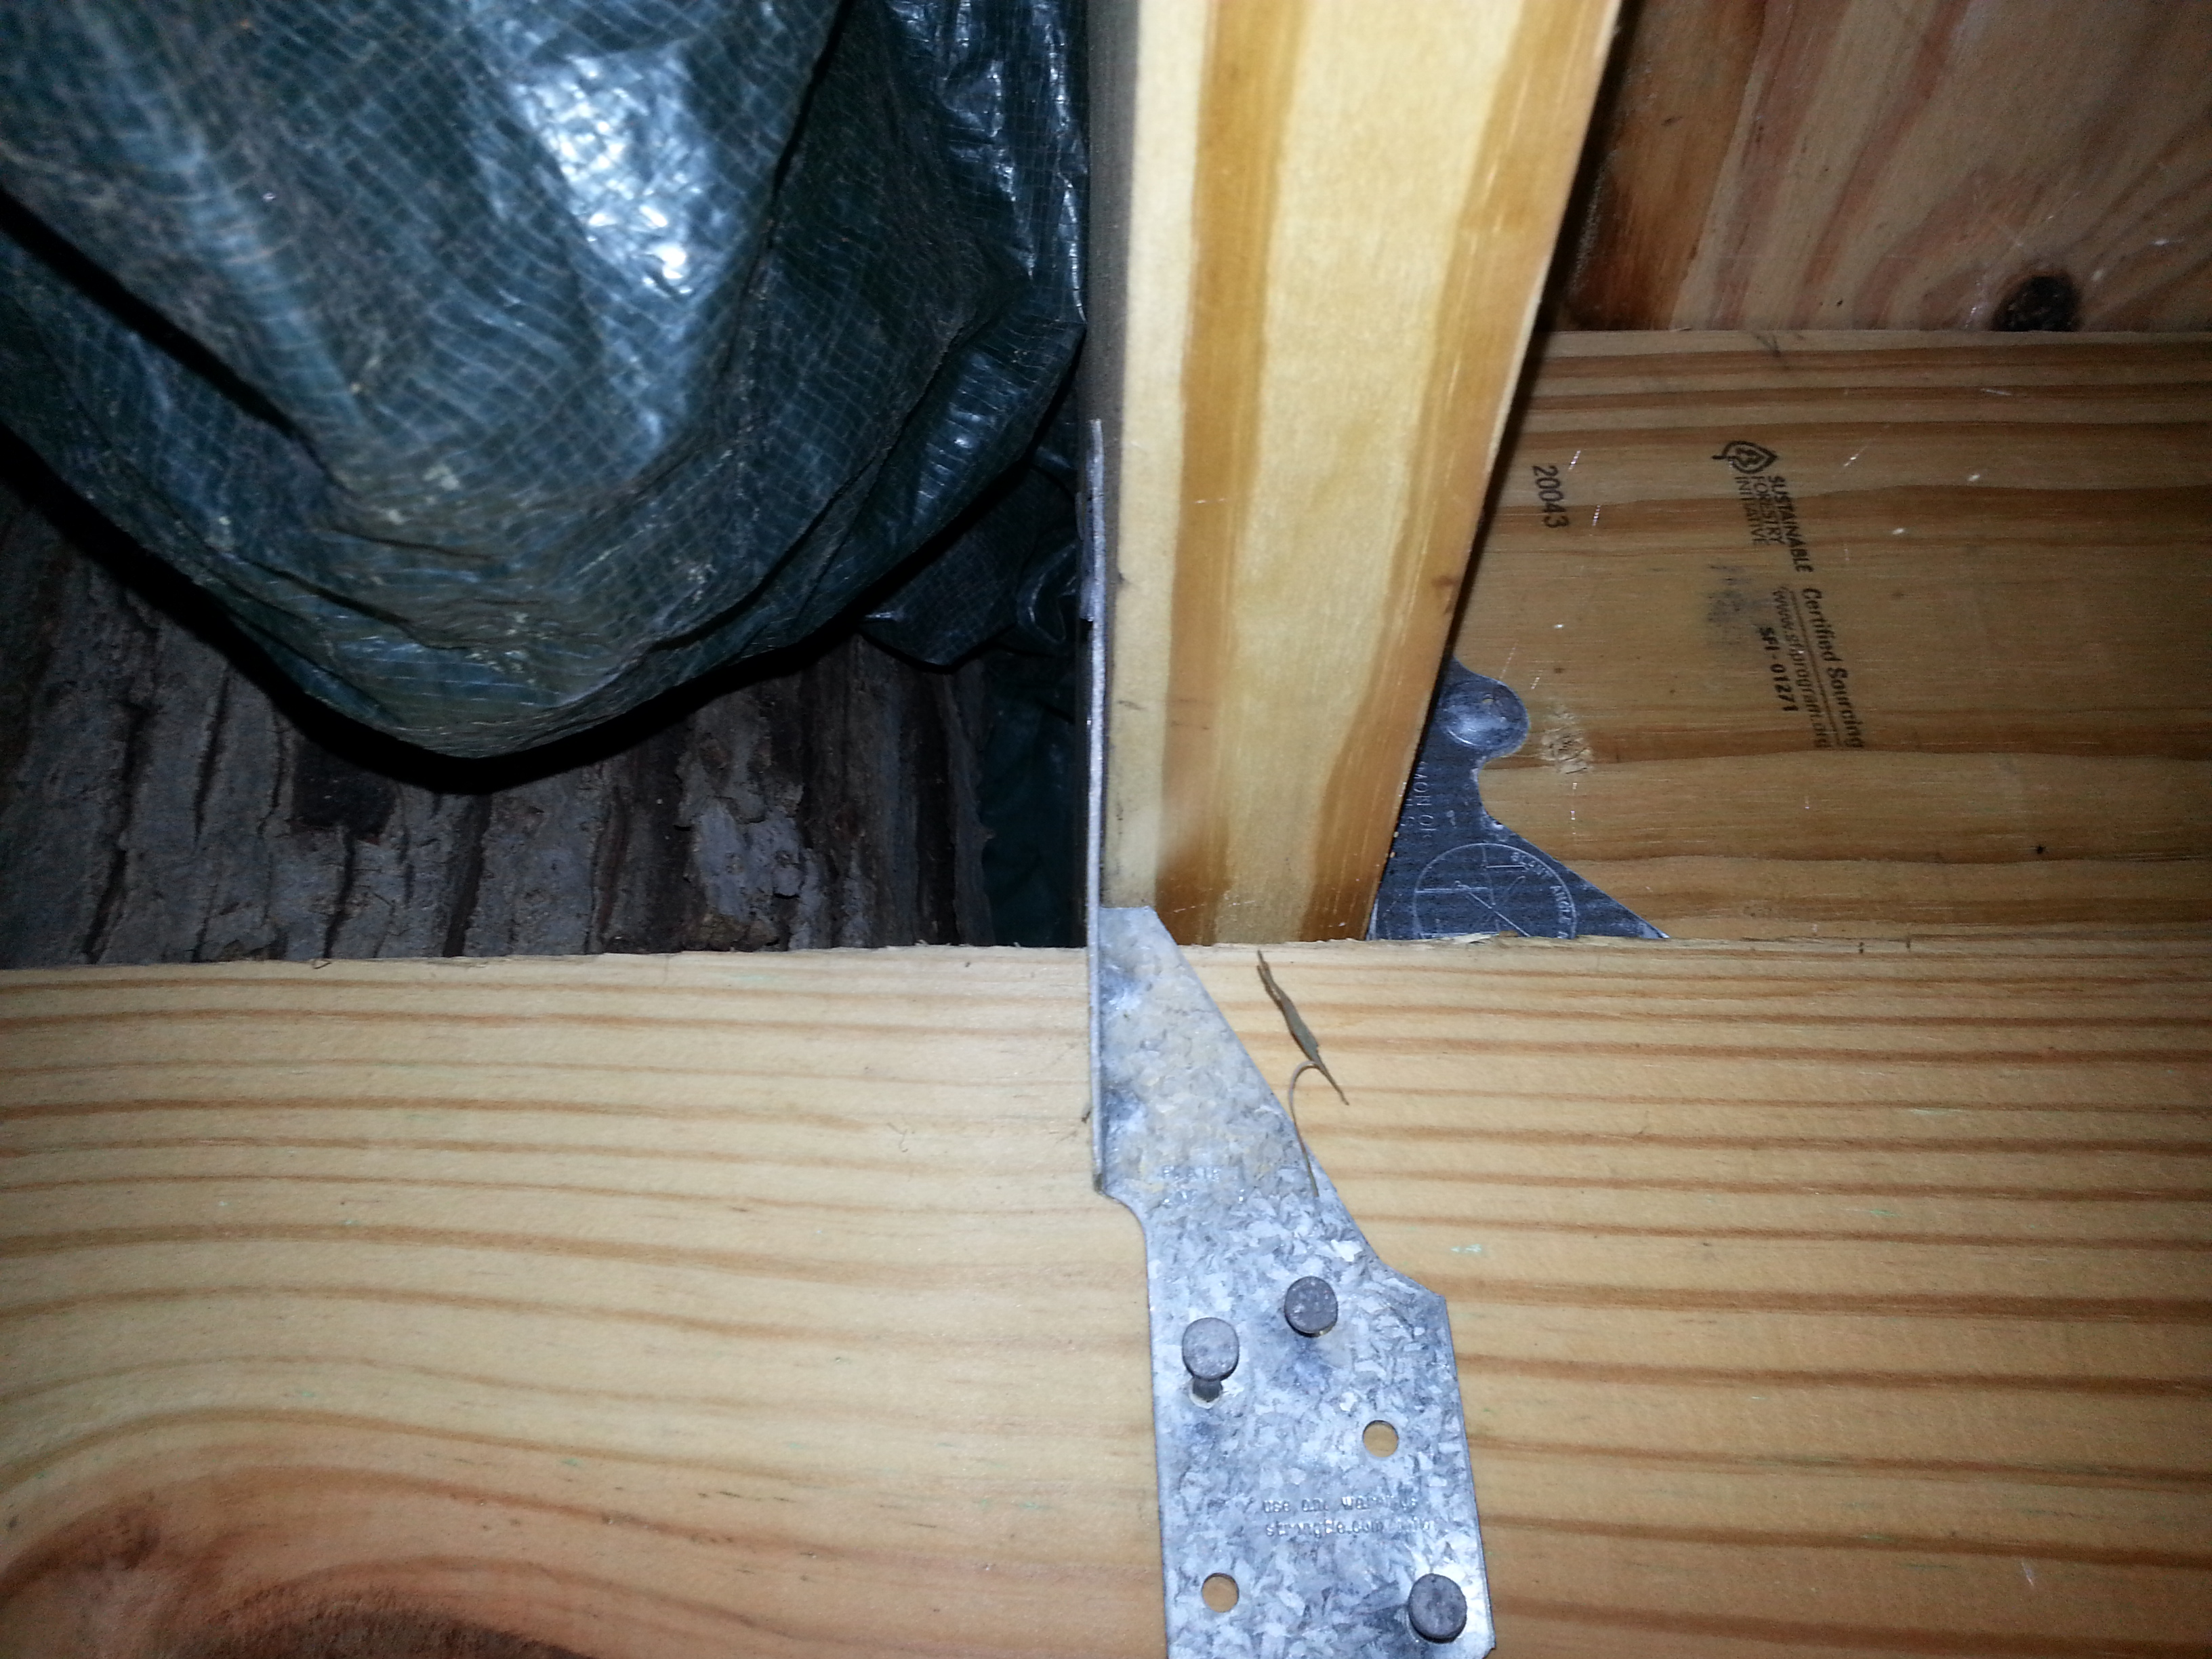
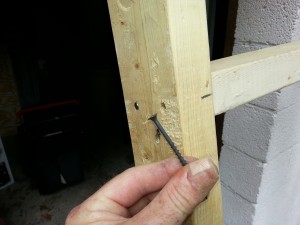
So here is one of the hangers that I have to pull the nails out of…

And then used a large 2 by 4 to move the whole platform over about an inch or so. Just enough to get the frame level. This is why I am glad I moved that one support over earlier because I ended up needing the play in the supports to move it over a bit.
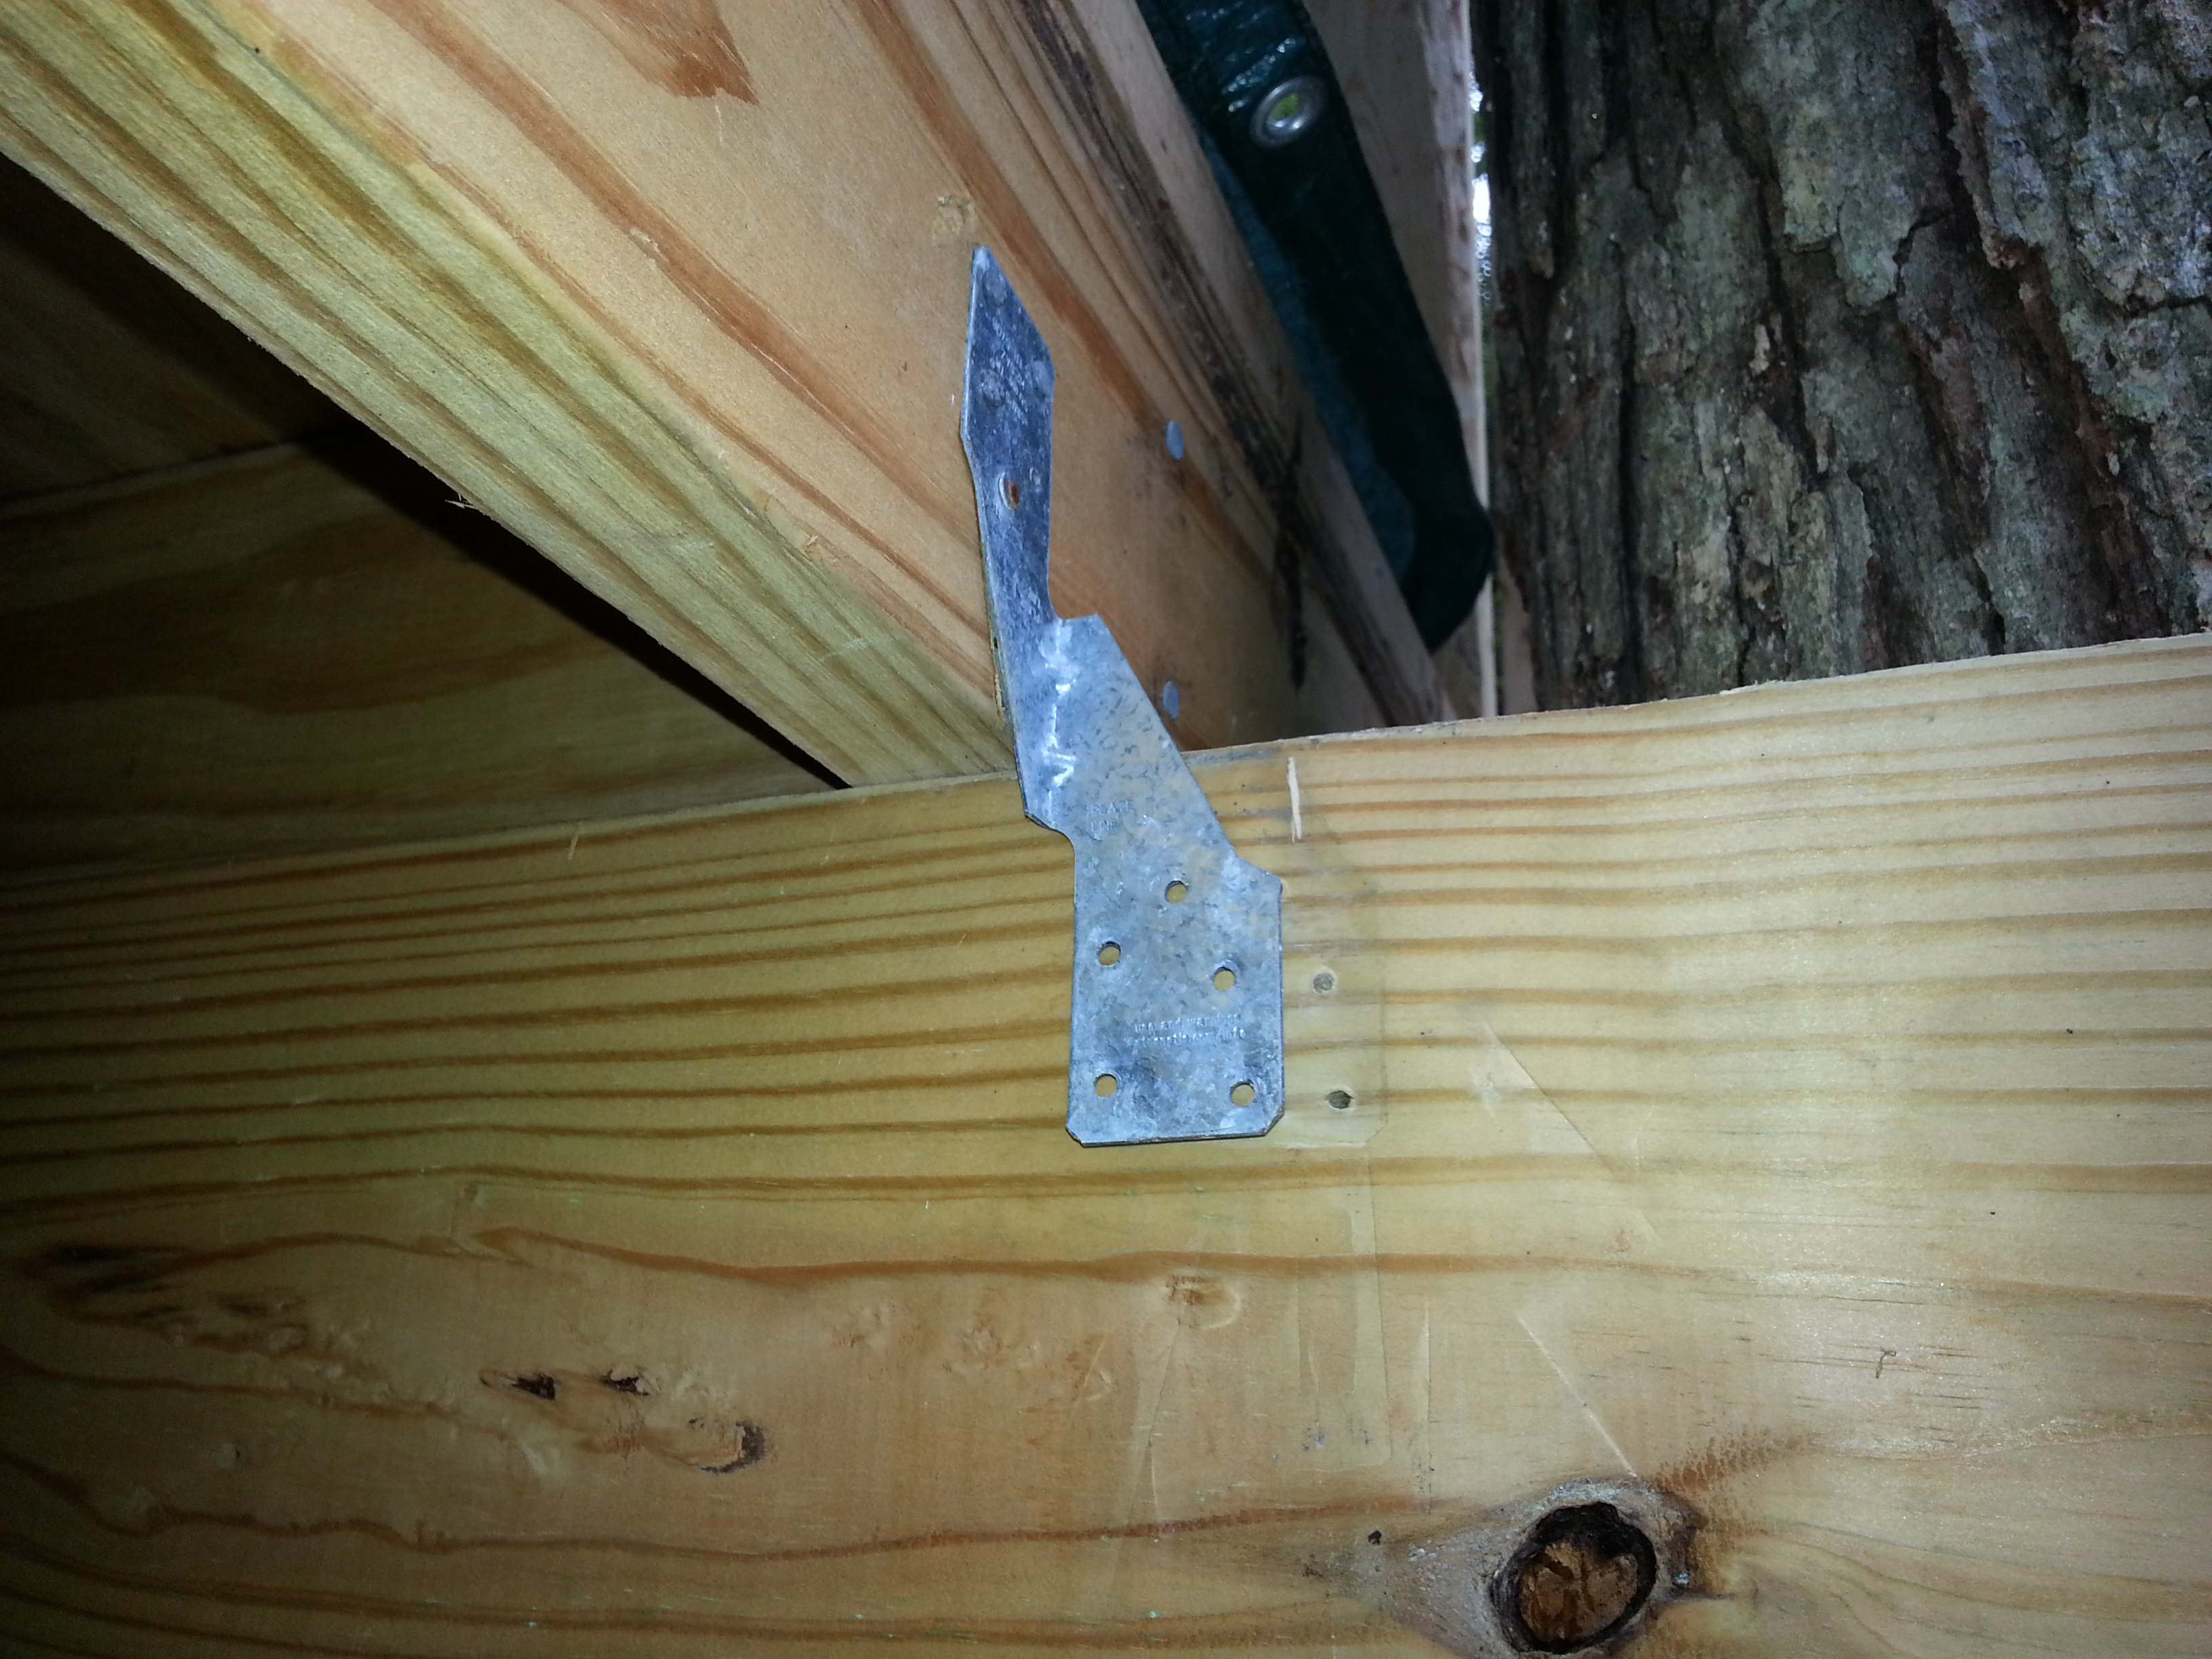
Renailed the hanger to hold it in place.

NOW we’re cooking with gas. Much better.
And once I got that done, I realized another problem. Being tired with all this hammering and sawing and hoisting I neglected to measure the side frame properly, as I mentioned earlier. So instead of cutting the 2 by 4’s down to account for the top and the bottom 2 by 4’s instead I am now 3 inches too high. Ooops. Again, Ooops being a substitute for the obscenities that issued forth from my mouth.
 So I took that side down, cut off 3 inches from each 2 by 4 as I SHOULD have done in the first place and then nailed it all back together and put it back. It was a long day and I was pretty tired.
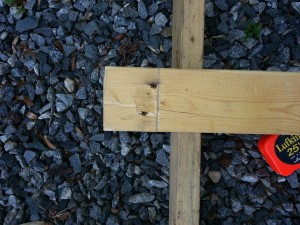
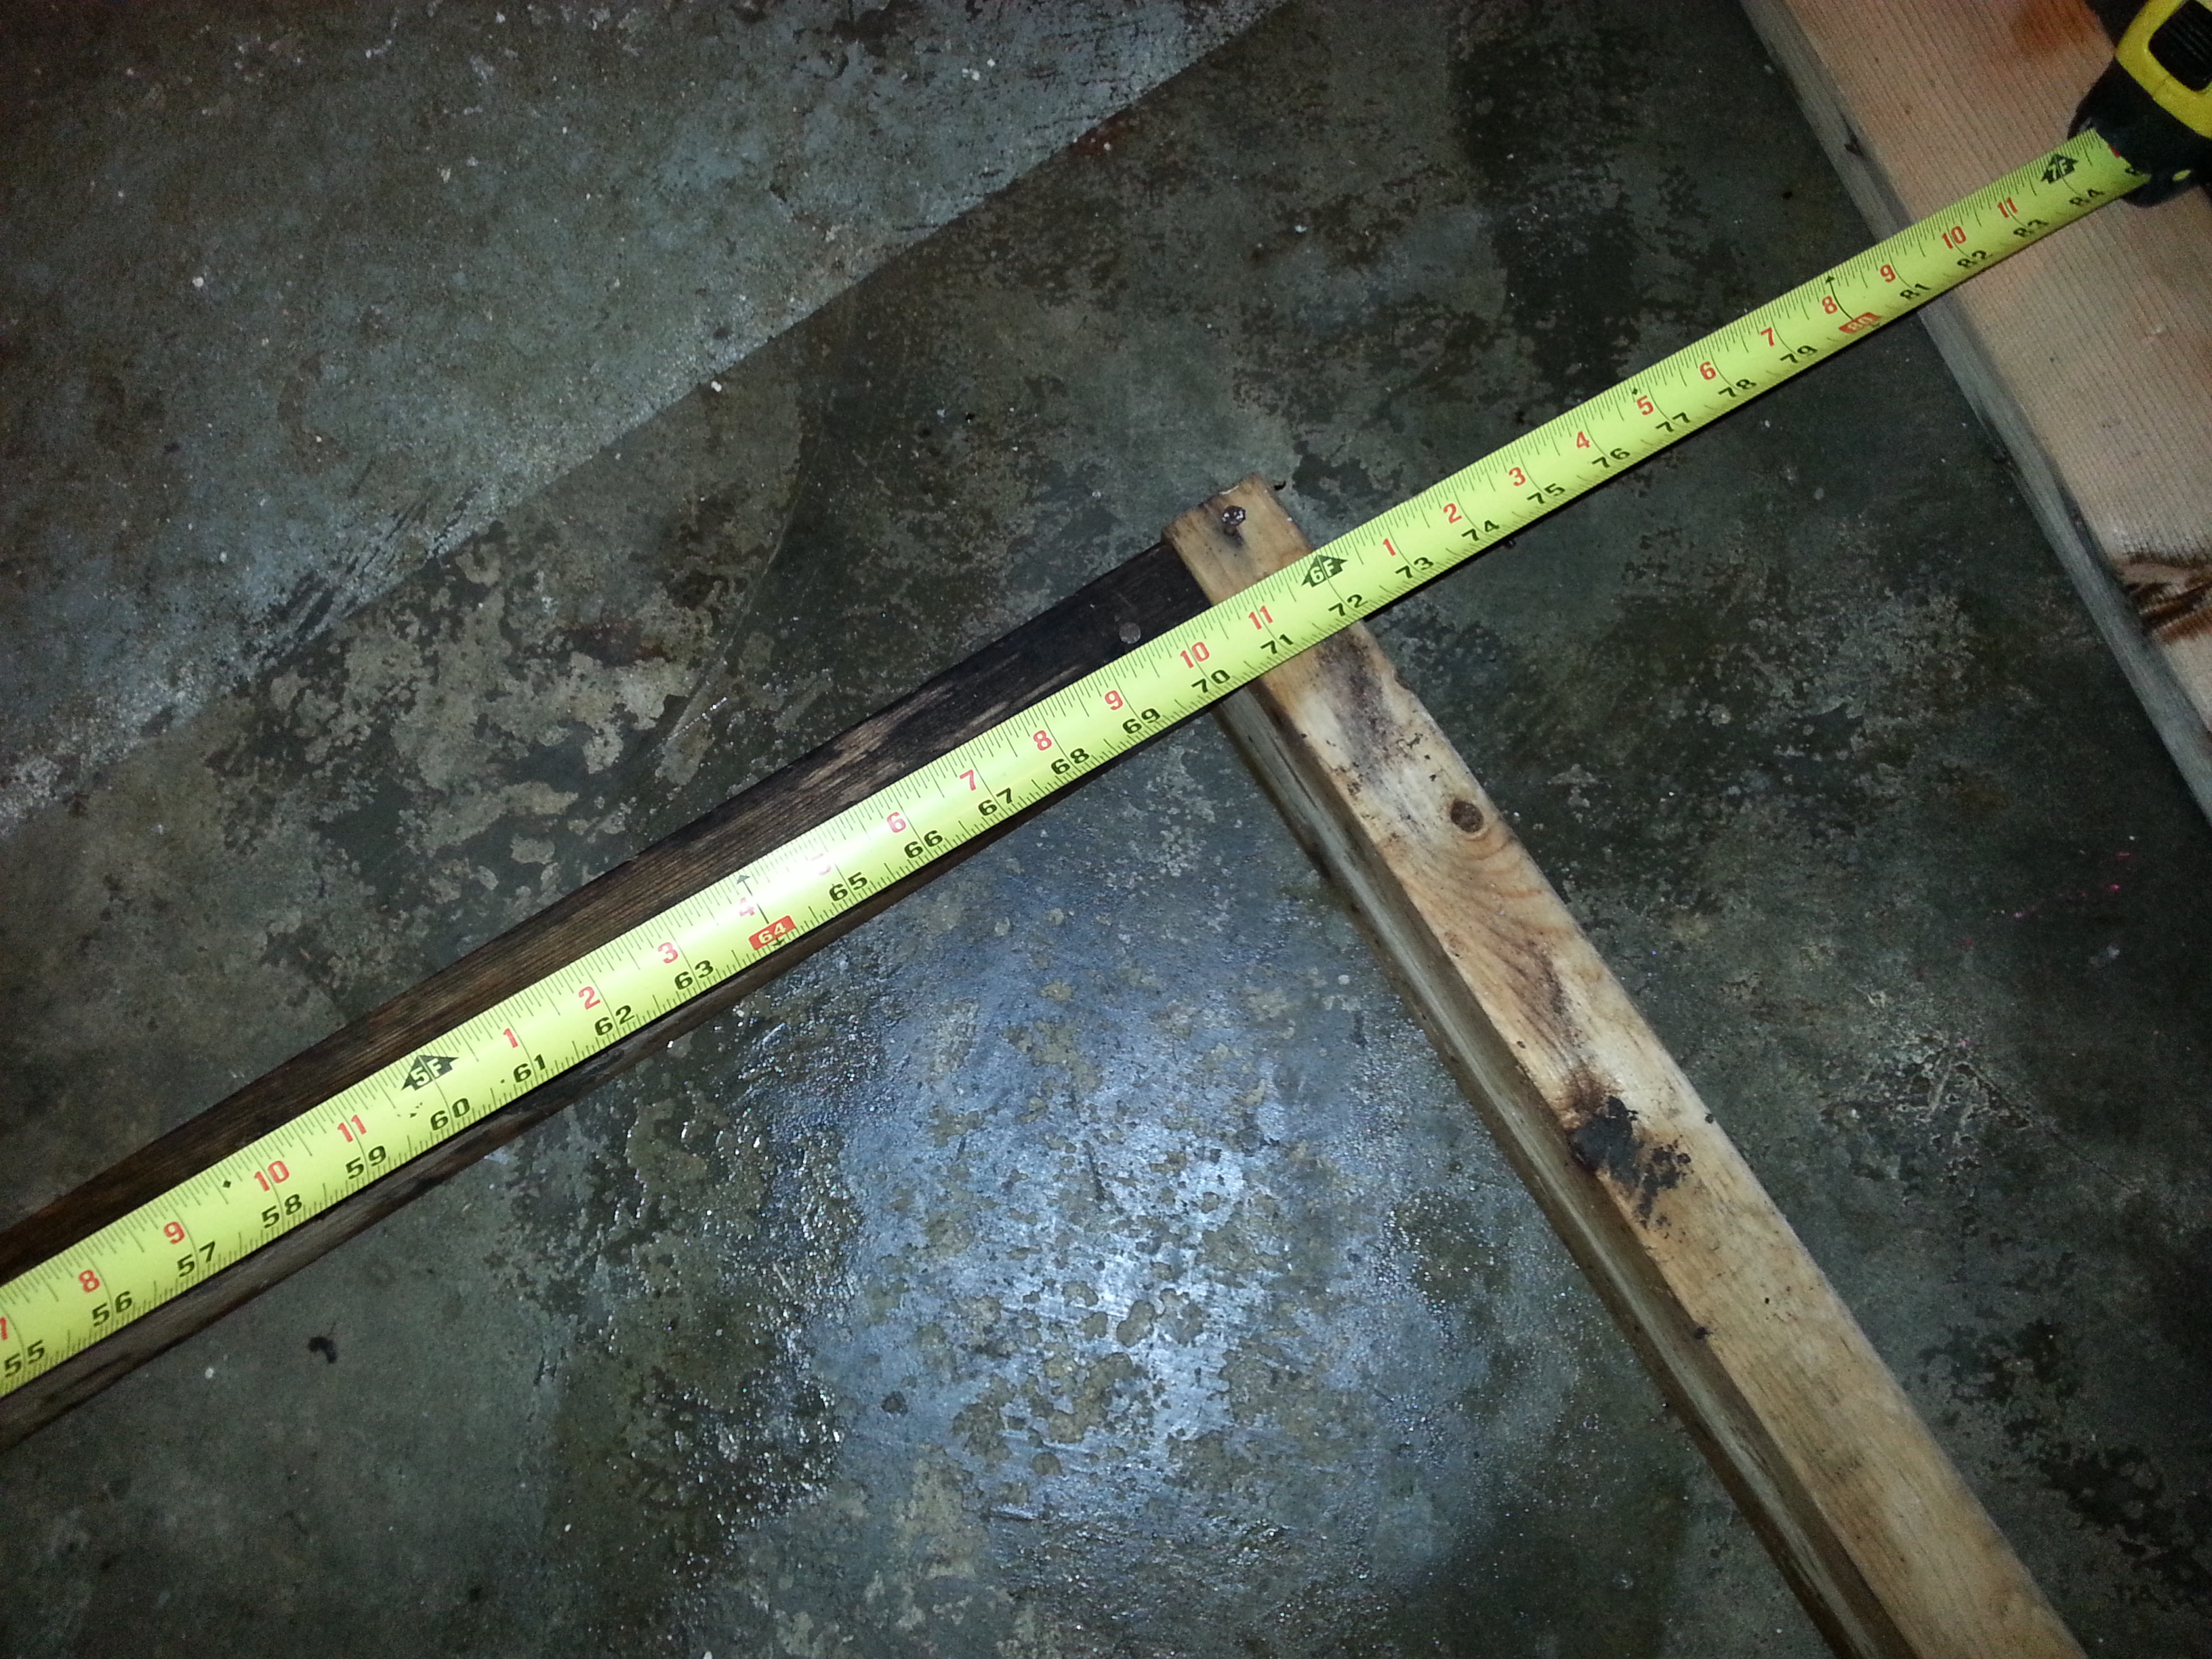
Here is the 2 by 4 measured properly and that is what got lopped off.
 MUCH better. Now that’s more like it. Square and level and lookin Fine. Nailed these together and now I had all four sides up.
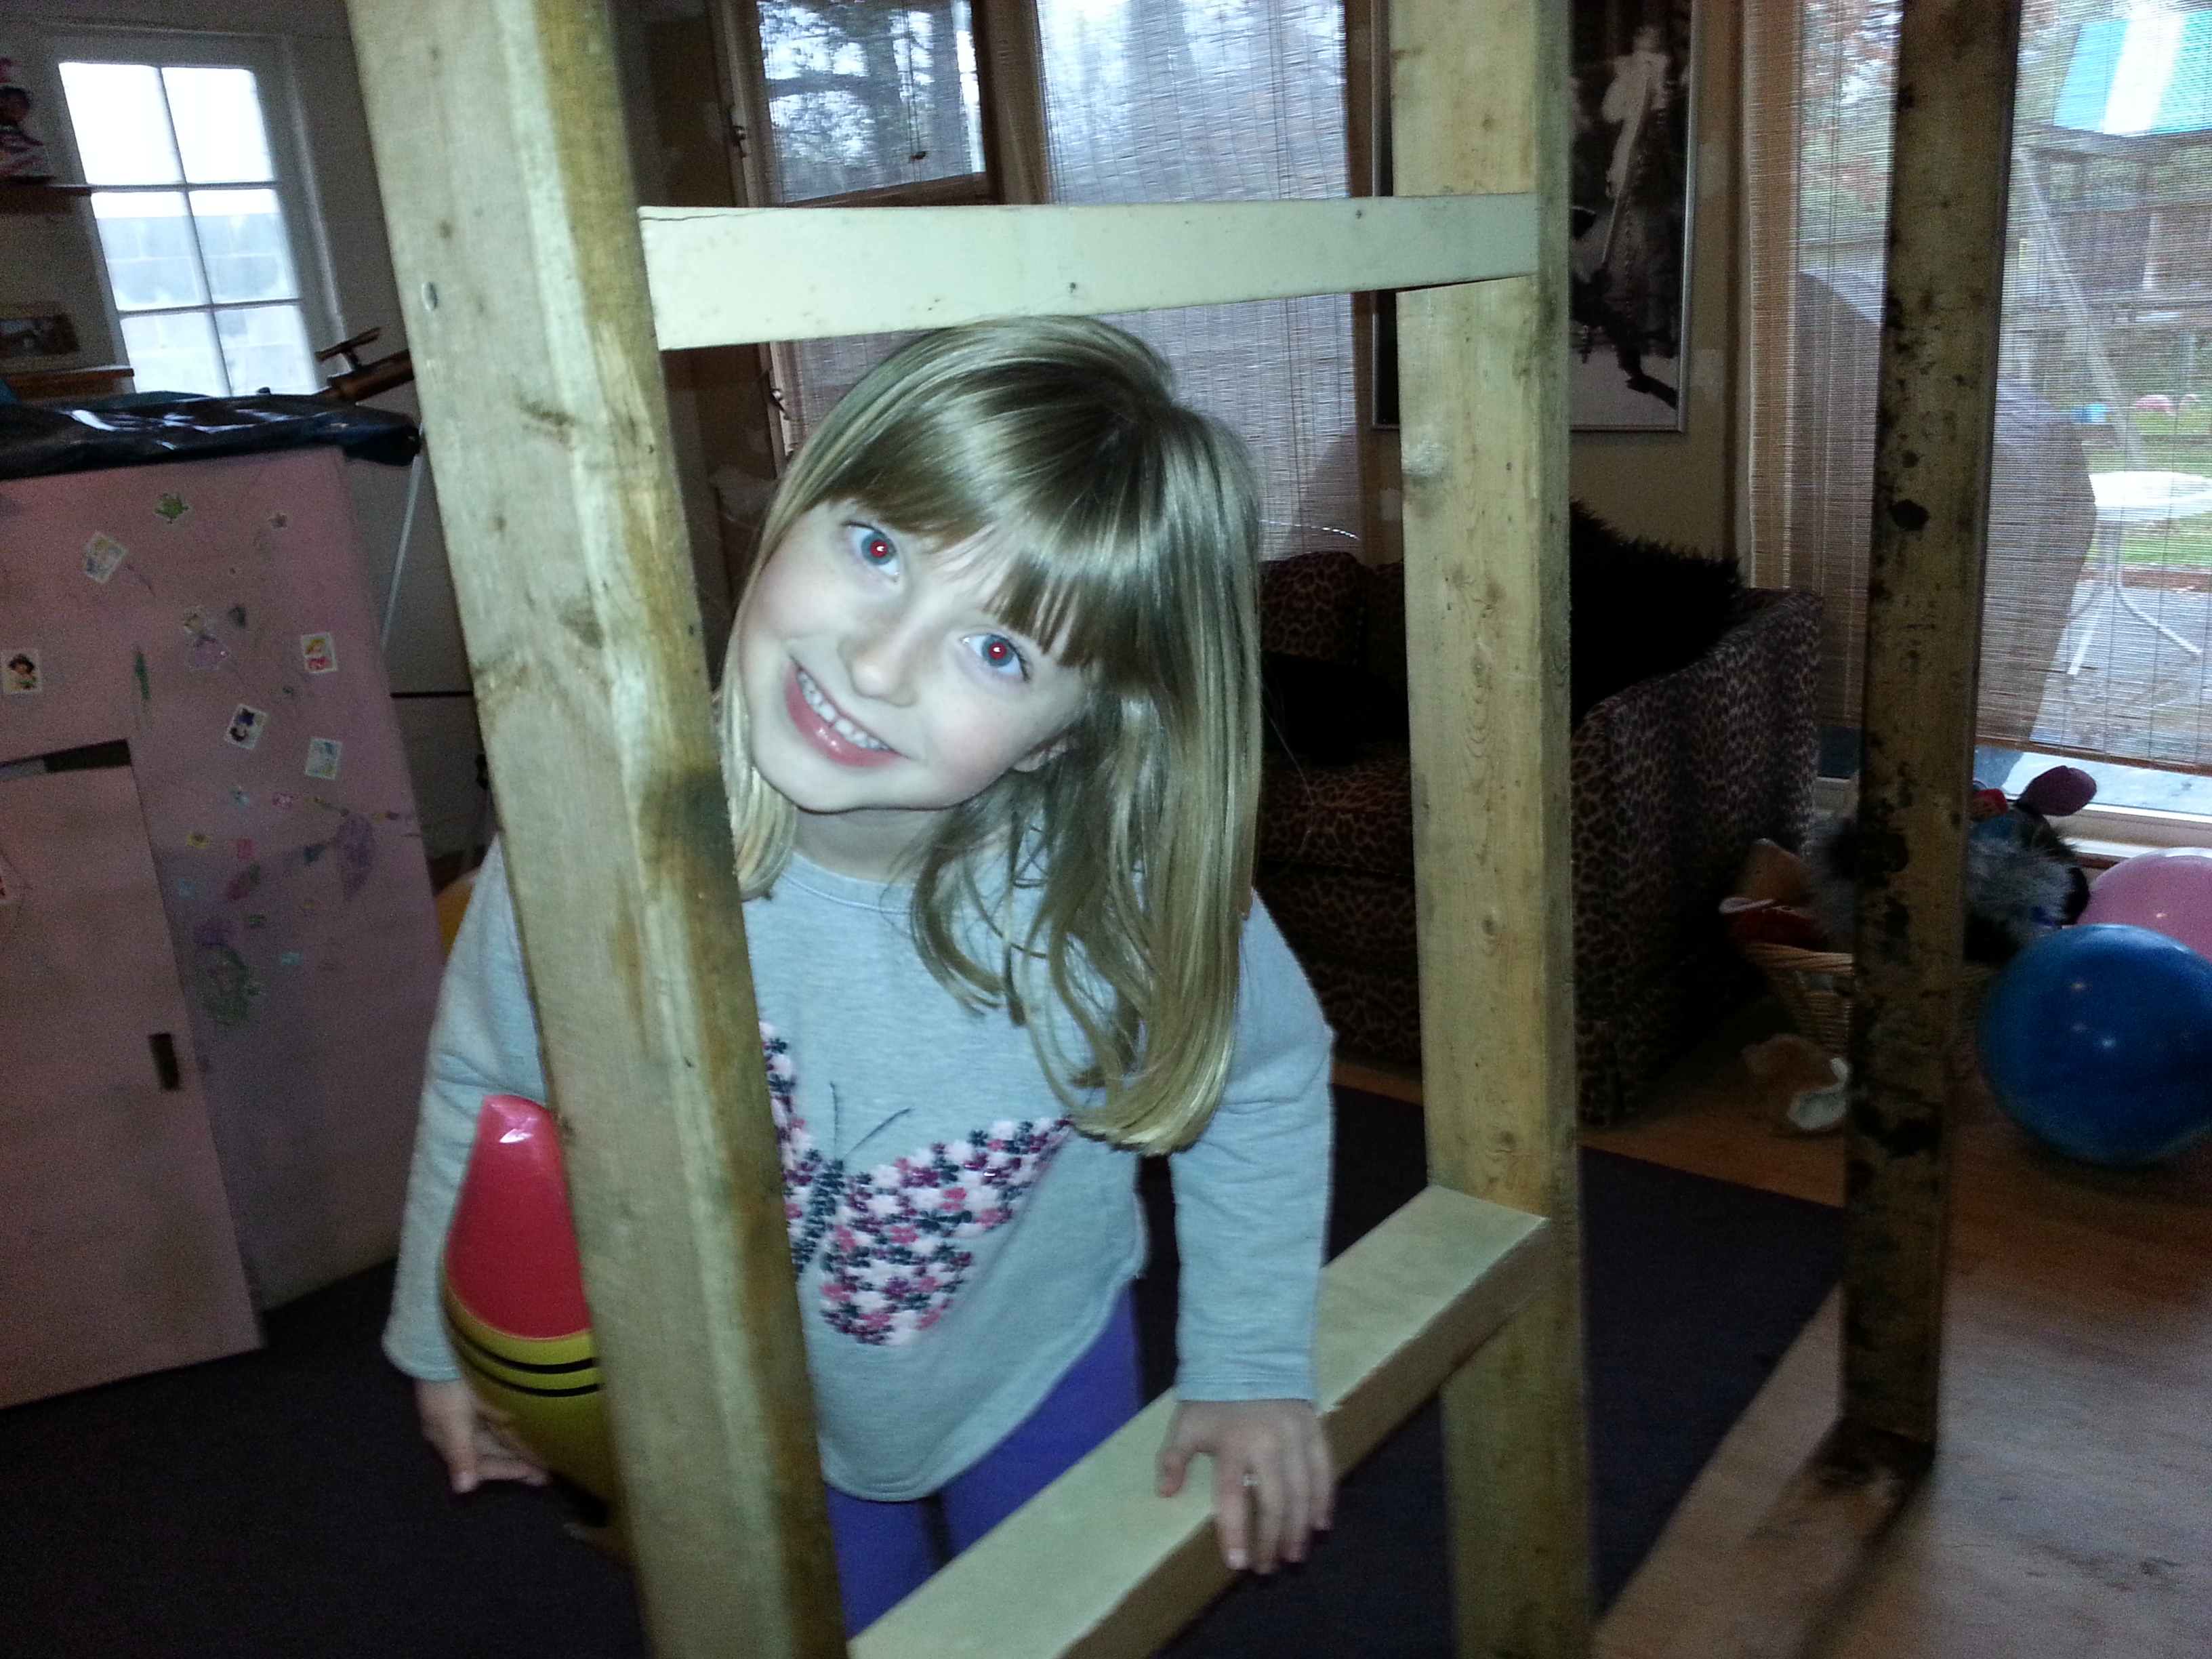
 And now we have 4 sides- enough for a child to stand in long enough for a photo to be taken. She wanted to go inside so this was taken when 3 sides were up.
Notice, if you will, I made another “foot” there on the front. Don’t want to waste a perfectly good 2 by 4 even if it is a little short!
Next up is Phase Five- Siding. But… we have to stop in the middle to do the roof. WHAT?!