 So we got our base, we got our framing done, so we need to put up some siding. To keep the rain out and whatnot. Plus honestly the siding helps hold the framework in place. Anyone who has done any framing will tell you, the siding plays a large role in holding it all together. I found this untreated shed siding at one particular Lowe’s Home Improvement but only one location and only at Lowe’s. Since the plan is to paint it I saved a little money on plywood by using this stuff.
 I measured the sides and since the framing was 6 feet, I left a little bit so it would hang down over the lip and cover everything up to keep water out. Again the plan is to paint it but if I cut it right at 6 feet then both layers of plywood on the base would get water in them and I would have to run a piece of trim around to cover everything. I may end up doing that anyway but in that case it will be for looks instead of to keep rain out.
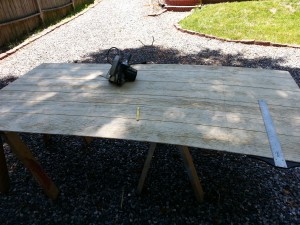
Laying out the 8 foot to trim it down. Sawhorses are a good deal of help at a time like this. Measured out and used a meter stick. Yes a meter stick. I don’t own a yard stick- I have an aluminum meter stick. That’s how I roll.
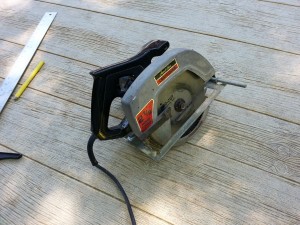
If you do not own a Circular saw like this one, and you’ve been doing this the hard way (like with a hand saw or some such nonsense) all this time, stop right now and go buy/steal/borrow one. It’s going to make your life so much easier. Remember, the right tools for the job.
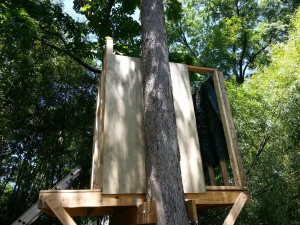
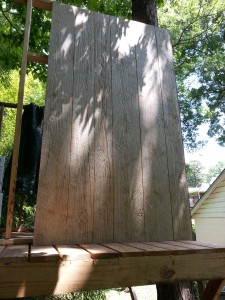
You can’t really tell here but I balanced the first piece of siding on some blocks and the support joists I put up in the beginning. Cause I had to manhandle (personhandle?) the thing up the ladder to get it in place. Some of the side pieces had nothing to stick them to and since I had no one to hold them in place, I drove some nails at the right height along the bottom joist to hold the siding up while I ran screws in them.
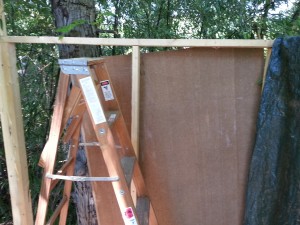
One section, a little crooked of course.
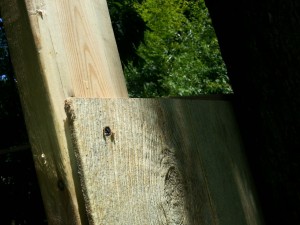 So I would put in one screw, leave it loose and them move the ladder to the next position, hold the siding in place with one hand and run a screw with my drill with the other hand. This was not fun, I will not lie to you. It was difficult and I was constantly worried that they would not be level. Get some help with this part.
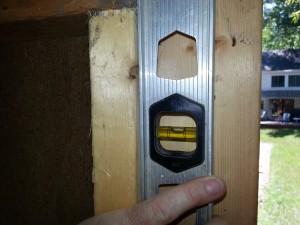
But once we got the first one on, and everything was still level…
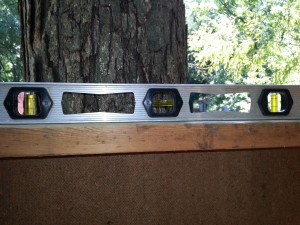
both ways, I felt a little more confident.
Putting the siding portions on where I had the deck was the easiest part. Course I was putting on sections that I only had to cut one side. Four feet wide. The tree house is 6 feet by 7 feet wide. So I will be cutting down other sections longways. Get that Circular Saw. You will love it.
Oh and while I was up there, I used my recip saw to cut out the framing for the doorway. Cause you want to be able to walk in without stepping over a 2 by 4. And now that the siding is going into place, it helps hold the frame level and plumb so you don’t need that little section anymore. Out it went into the fire wood pile.
I just went ahead and screwed the siding up to get it in place and then…
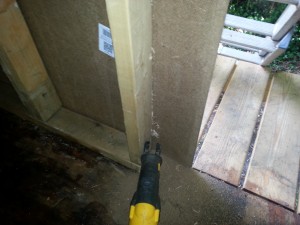 Use the Sawzall to rip the pieces off that were in the way. Knowing that a) no one would see the rough edges once I trimmed it out and b) it’s a freakin tree house. Rough edges are expected if not required!
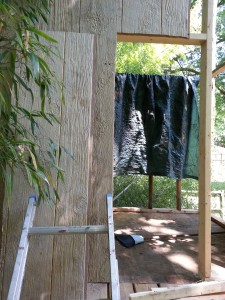
Our doorway. Saved the pieces of siding from the doorway so I could use them to make a door later.
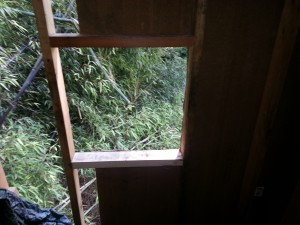 I did the window the same way- threw the siding up onto some nails I put in to hold it up, screwed it into place and then used the recip saw to cut off the unnecessary mess. Which I saved to make some terrible looking shutters.
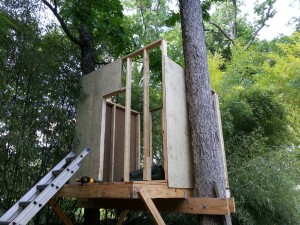
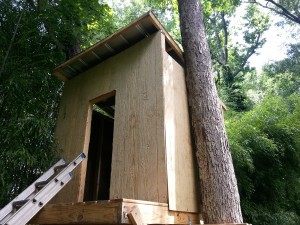
Almost all the siding is up in this photo. From the front.

And here is siding from the back. Why is there a wire connecting around the back of the house? That’s a hand winch or in some circles a Come-A-Long. Why, you ask, is there a Hand Winch attached to the house? Cause the roof sucked- Click here for a quick side step to the Roof.
Now that you dealt with the roof, here we are almost completed. Notice that the roof overhang isn’t exactly straight. You may have to zoom in on the photo. It’s off by about an inch or so but that is because the whole framework is twisted slightly out of plumb due to my own stupidity. Not taking into consideration that the tree might not grow straight up. So… the roof is on but it on slightly askew. Big pieces are all done. The side pieces overhangs a bit so there would be no deck rot. Also notice how the tree is RIGHT up against everything.

Final piece of siding. Cut it out, saving the unneeded bits to make the shutters. More on that later.
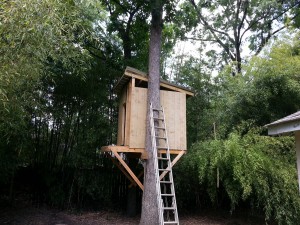
Distance shot. Notice the roof bit folded up- Not quite nailed down yet. It was nailed down when I put it together but I had to fold it up and cut it to compensate for the tree. Again, another consequence of not taking the tree into consideration. I may eventually have to notch the roof frame to compensate and to align it properly.
So there are some gaps, of course. I took the sections I had sawed off (each piece was 4 feet by 8 and in some cases only needed 6.2 inches or so).
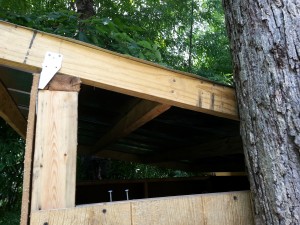
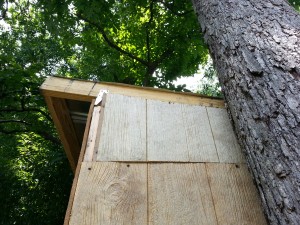
Cut those diagonally and used them to fill the holes. There’s a bit there on the left that isn’t covered but when I trim out the whole thing with 1 by 4’s you won’t see it. But that is a bit away yet. From inside you can see tree bark because I could not fit one piece in place. I had to cut one for each side.
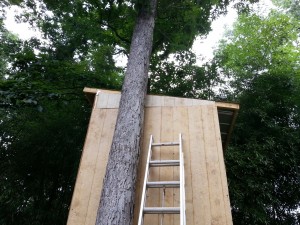
Completed side, holes at top filled in. It was a job but it’s all closed up now. Except for the door on the front and the window in the back. There’s a small gap between the large piece of siding and the angled bits there. I might tack up some strips of screen porch wood (1/2 inch by 1 inch strips) over the gap or I might just be lazy and leave it. Depends on how much painting we decide to do later.
[whew] I am tired. Thankfully the heavy lifting is mostly done now! Finally. Did I mention the Roof yet?
Done with the siding and the roof? Well then see what’s next! Details Details Details!


