


So we have the structure in place and the roof is on. Everything seems to be doing what it is supposed to do- walls still standing, trees not falling over, etc. So we have to add details now. I should be adding the trim to the sides and painting but the kid, she wants to play in her house already.

So we took the piece of scrap we cut out of the flooring (way back over here) and made sure it would fit. We had planned for it but just to be sure. It was kind of thin so we reinforced it with some other scrap and then glued the edges.
 Clamping the edges here. Just a regular old piece of plywood wouldn’t work so in reinforcing the edges helped it lay flat in place and had more wood for the hinge screws to grip.
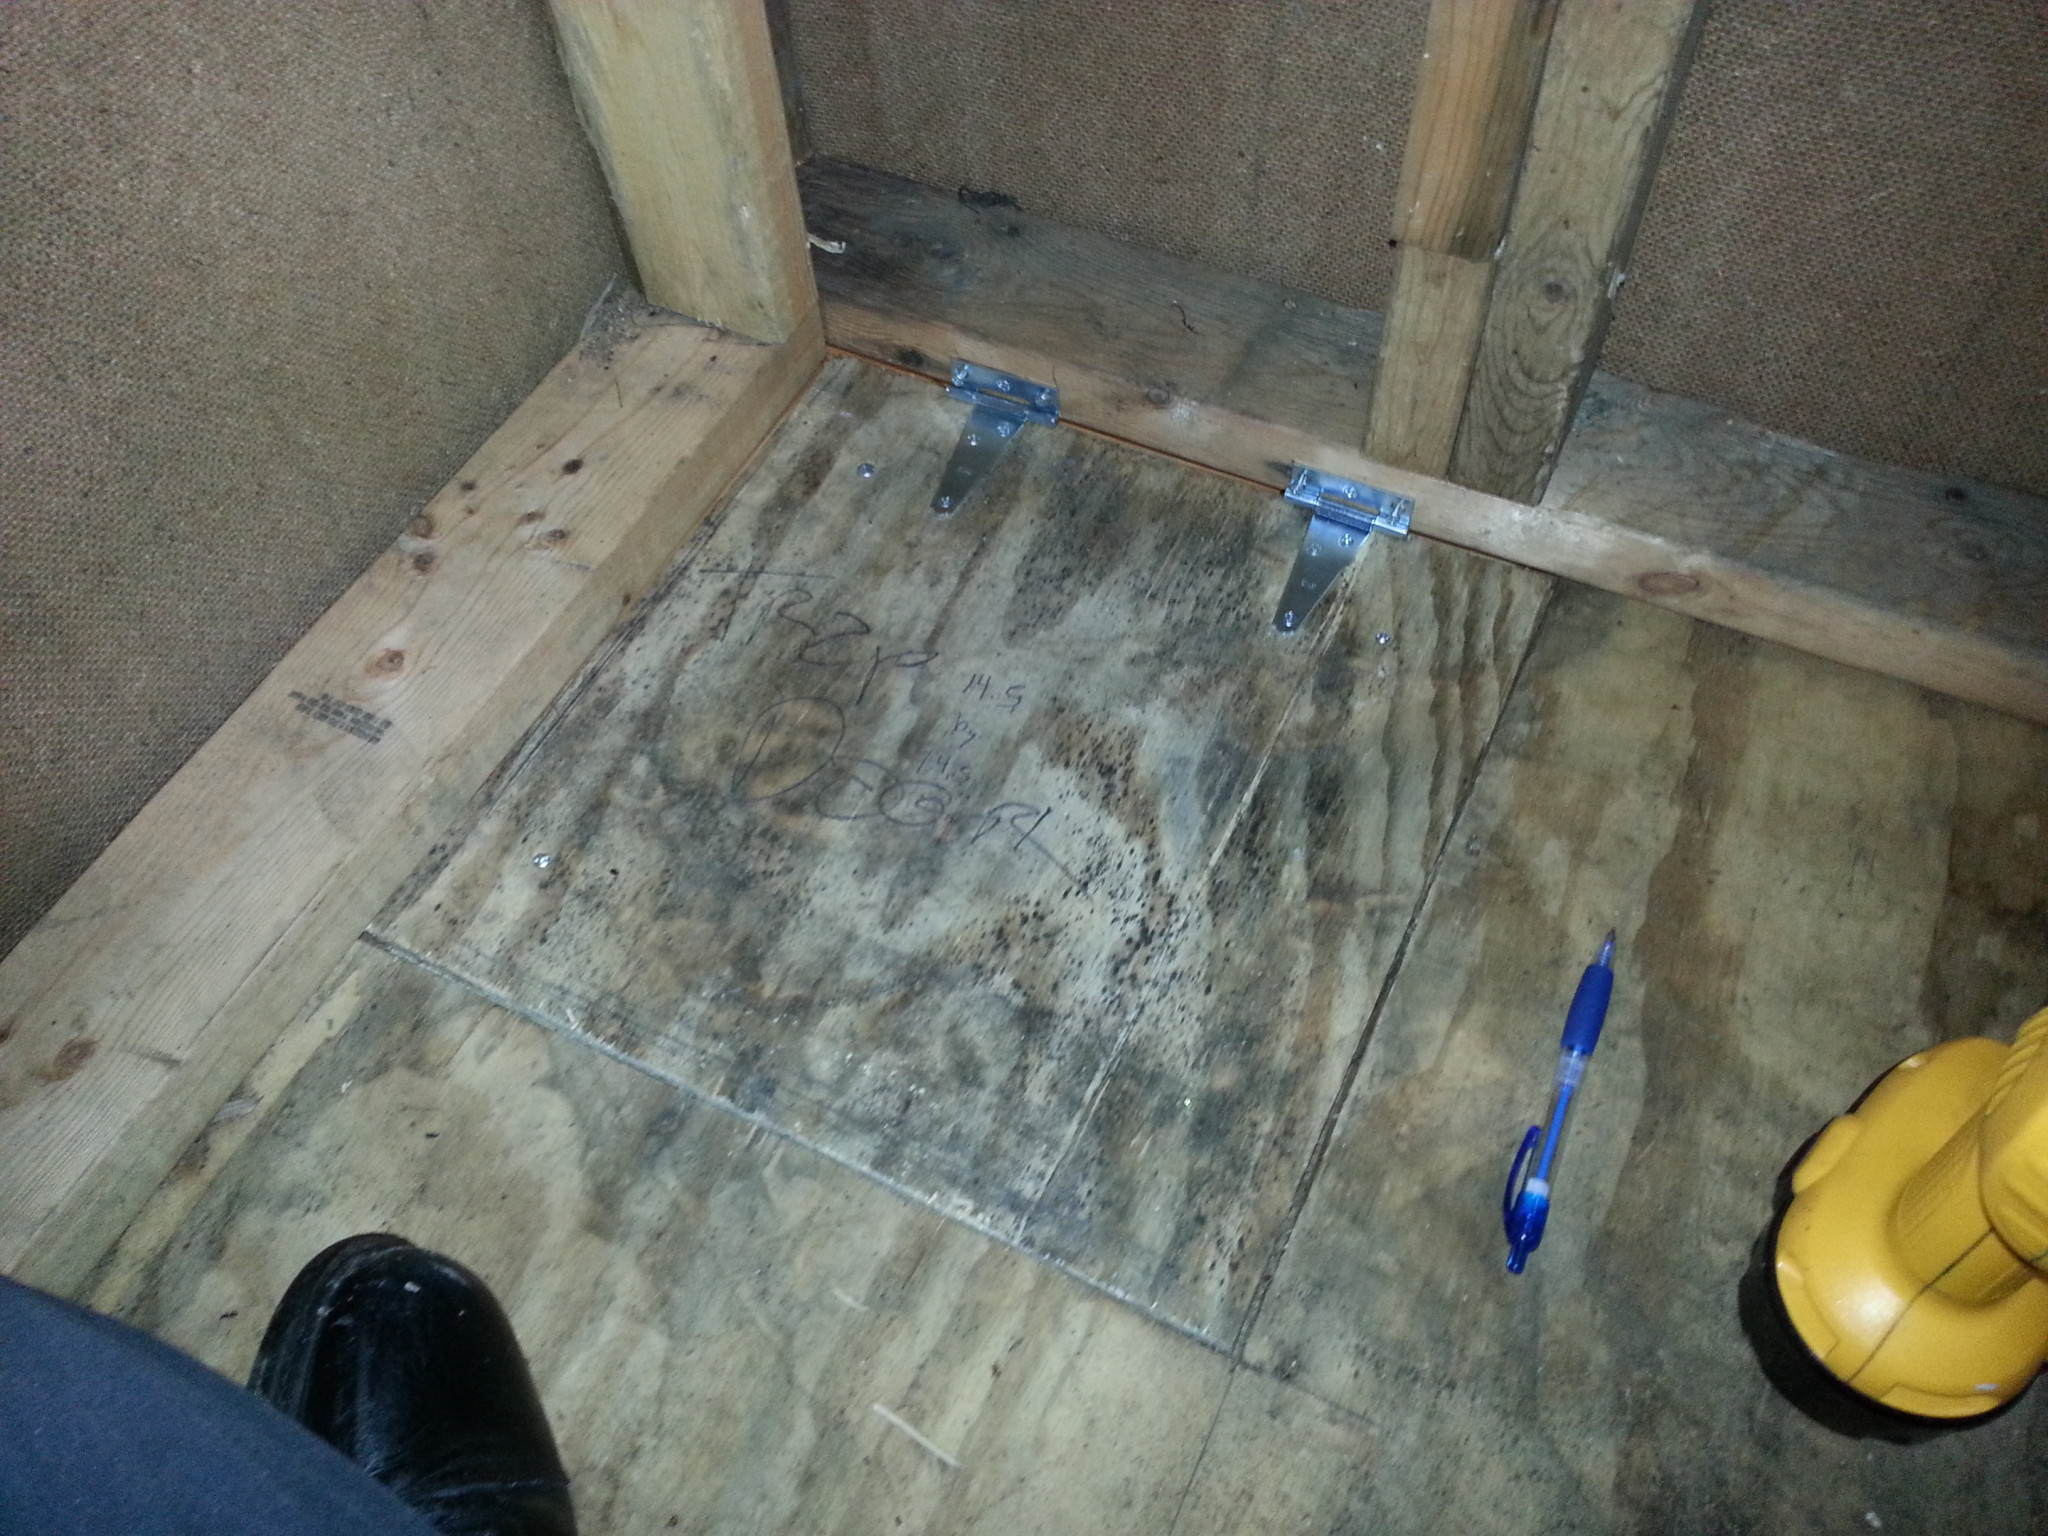 Added the hinges on the side and Voila! One trap door. Cause a front door is fine but a trap door is better. We added a handle on the left side along the frame to support the climb up because there was nothing to grab onto as you came thru the hole
 Works like a charm. Daughter is now almost 10 and she can still fit. One day when she can’t fit we will have to either enlarge the hole or close it up.
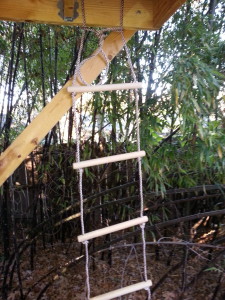
How to get up to the trap door? Why a rope ladder of course! Now we can climb up and down like a pirate.

Close up of how the rope connected- using the edge of the floor framing without cutting any of the rope. Sways like crazy but the kids love it.
 The front door needs a ladder. The trap door is great but what if you just want to climb up and go in the front? Plus let’s face it- I ain’t fitting thru that little tiny trap door.
So I measured off two 2 by 4’s at 1 foot increments…
Screwed in some 2 by fours at 16 inch widths and then only put in the front nail on each side (trust me on this)…

measured the tops and marked some angles…
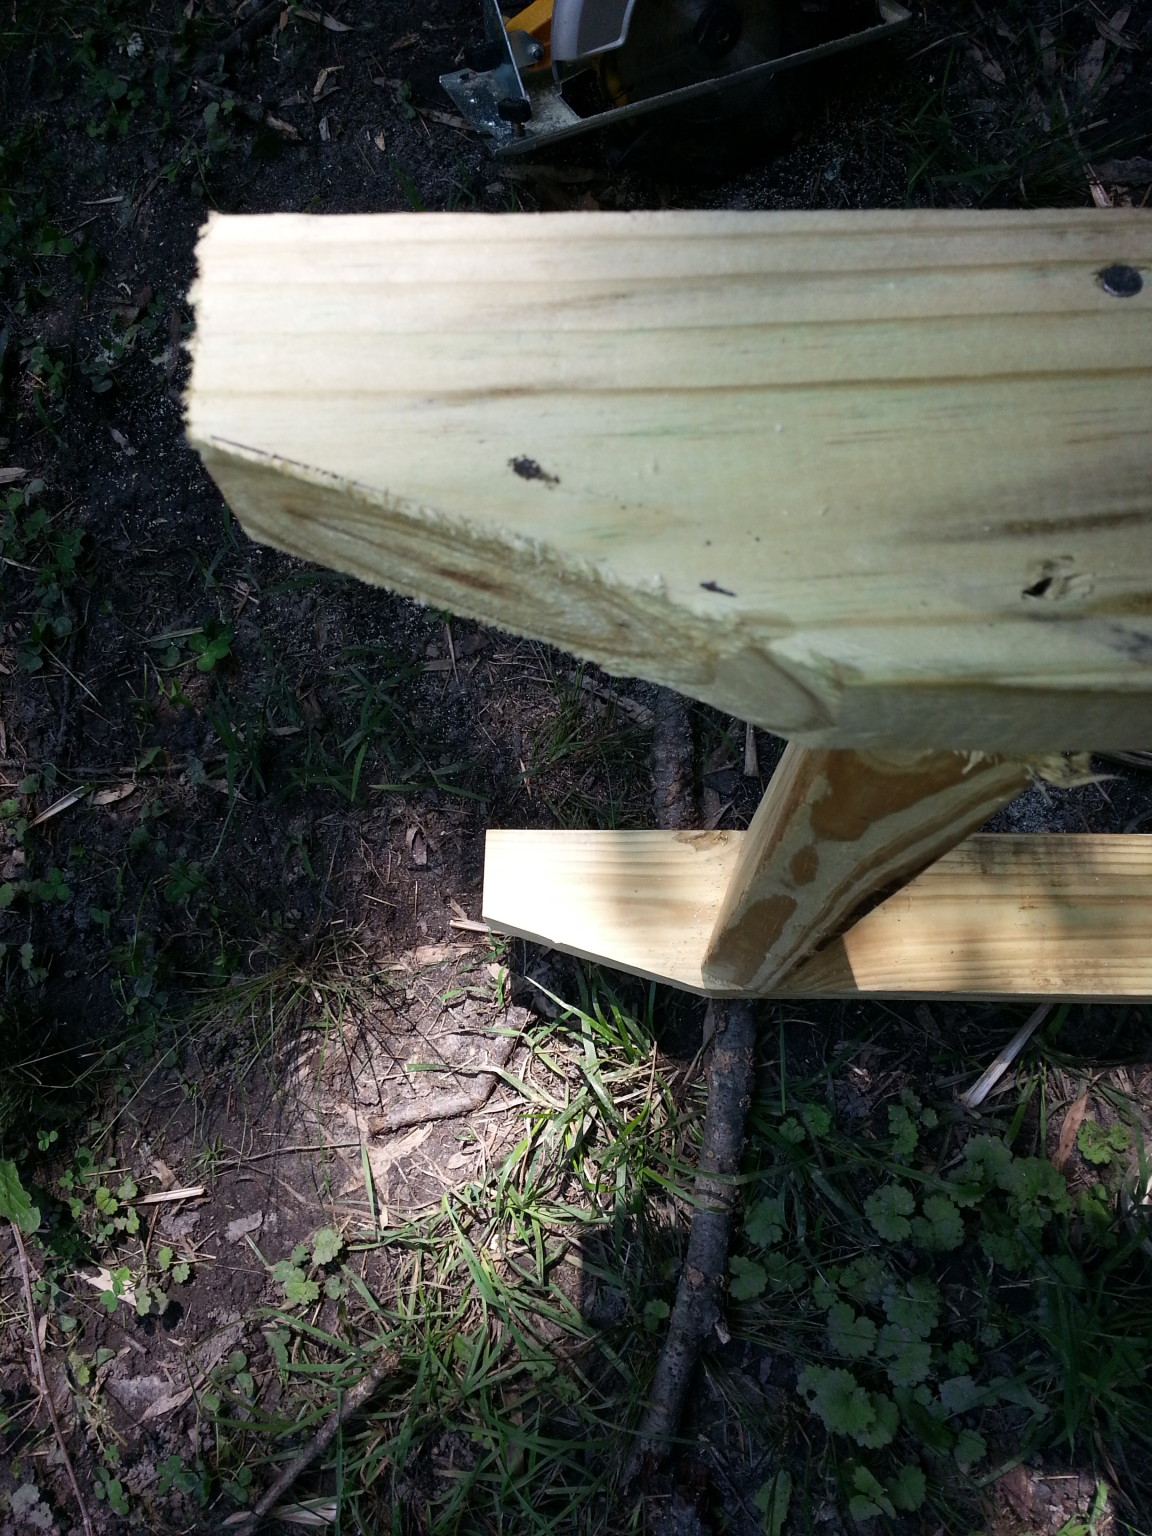
Cut off the excess, of course…
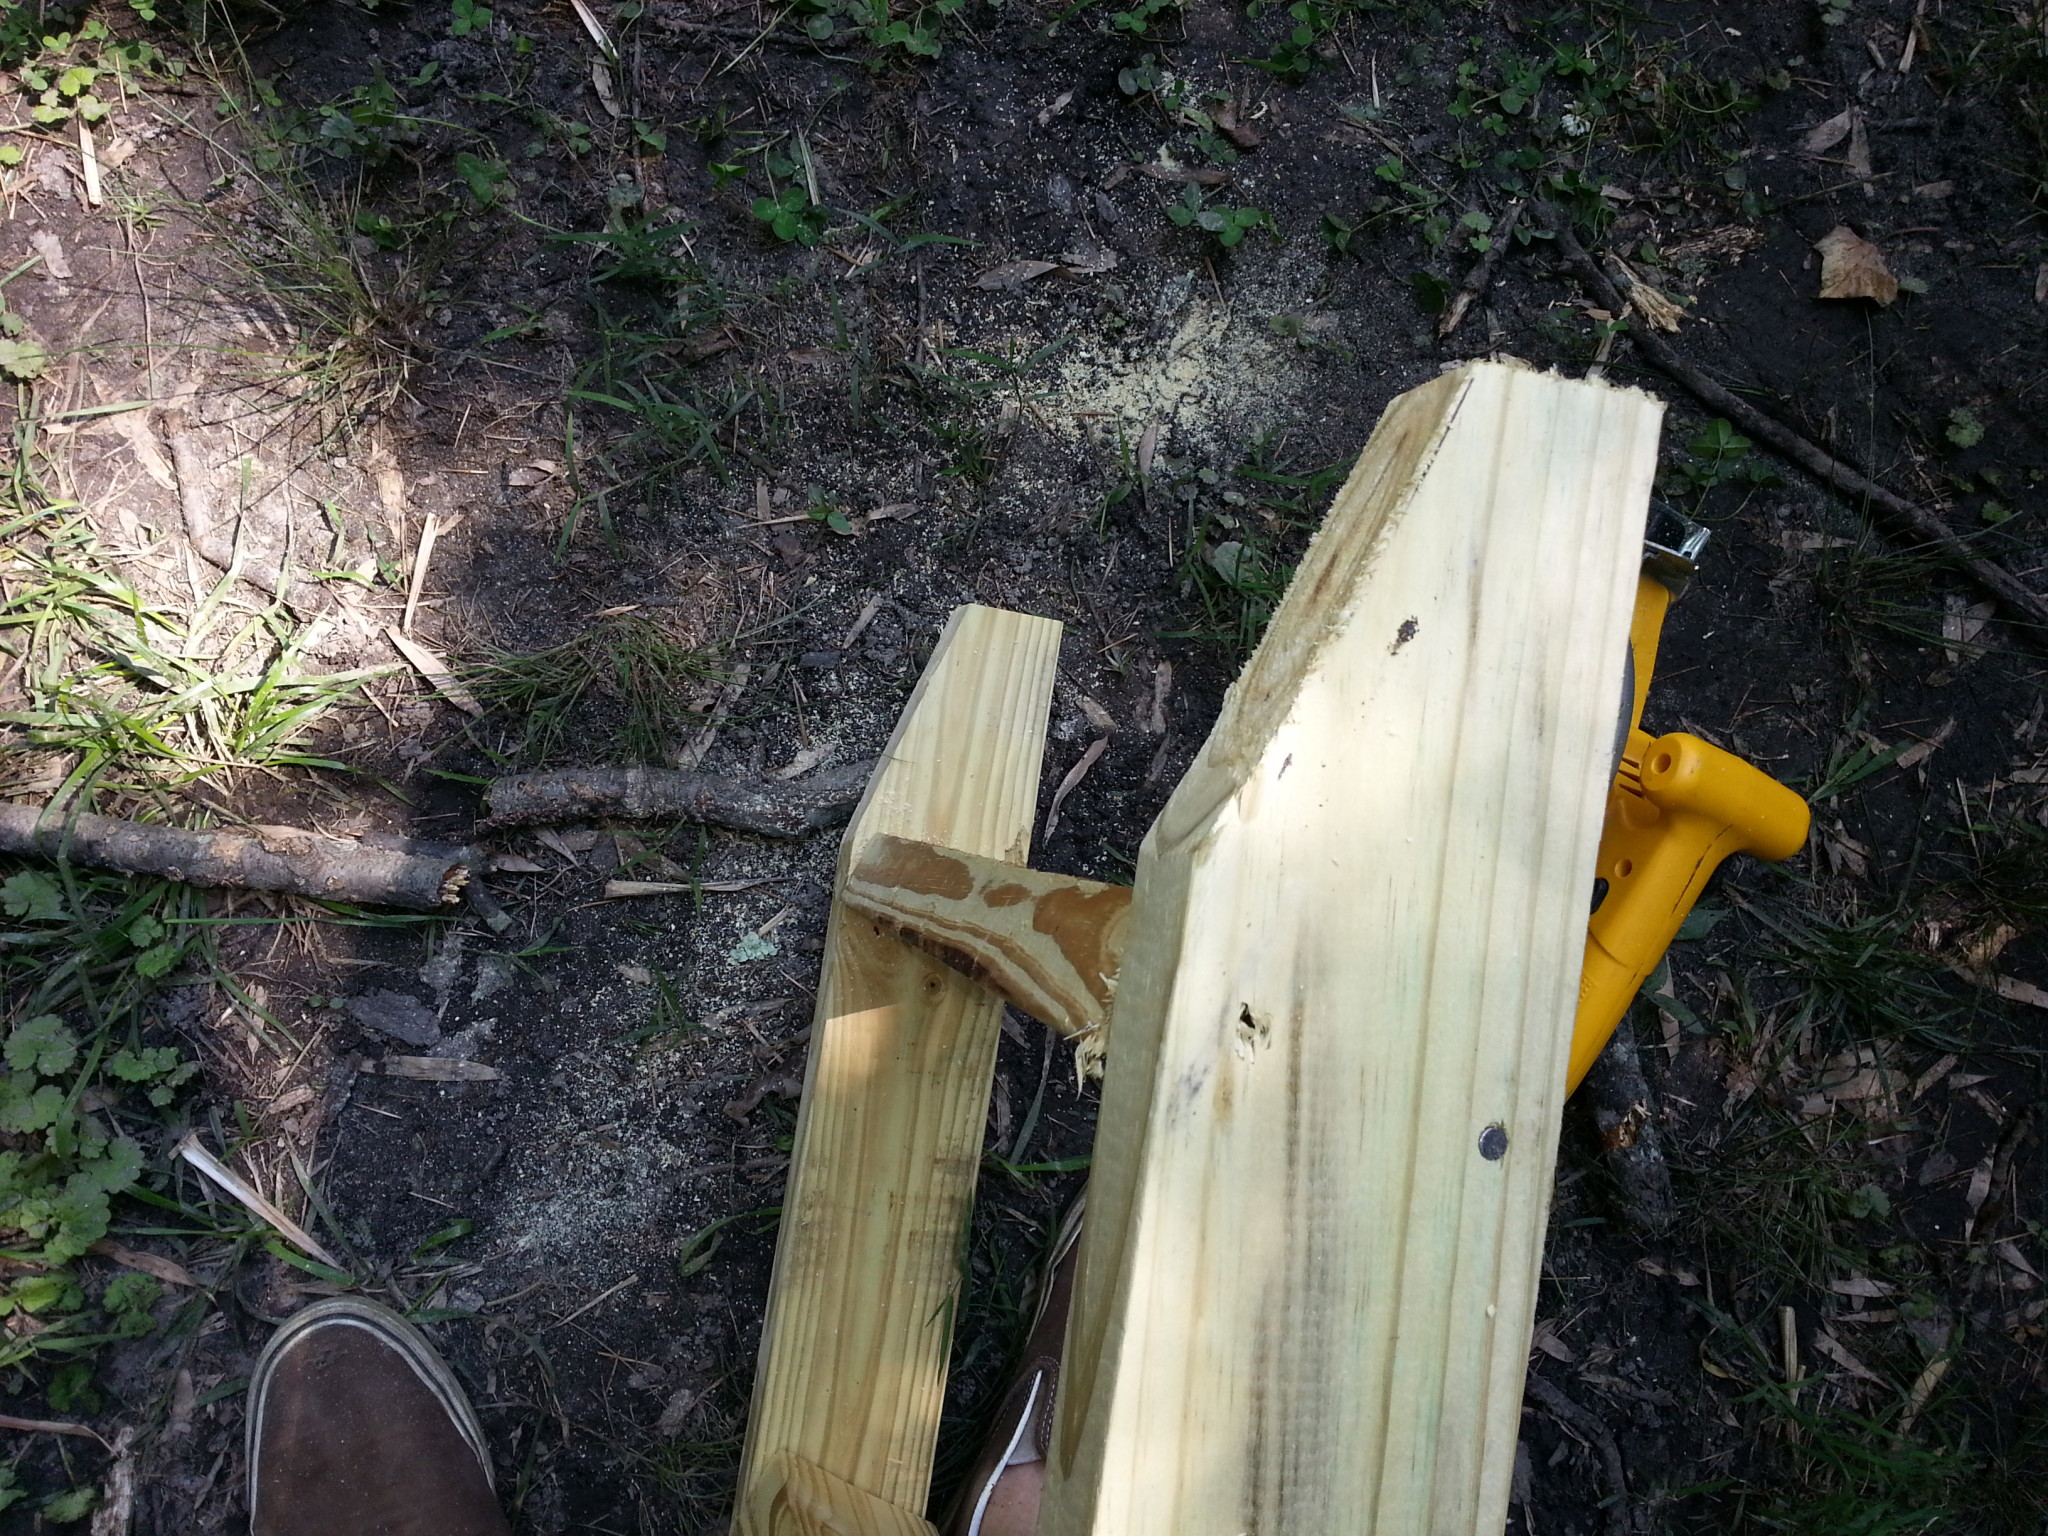
Another shot of the angles…

Laid it up against the side of the base framing to make sure it would sit flush and the right angle and not be too steep…

Attached it with some slightly modified joist hangers (these were not as heavy duty as the ones we used back here but they did allow me to pull the screws and remove the ladder in case we didn’t do our homework or got bad grades or something)…

And then since I only put in one nail on each rung (just the front) I could level each step with the ground and then put in a screw to hold it in place.
Redneck? Sure. Genius? Absolutely.
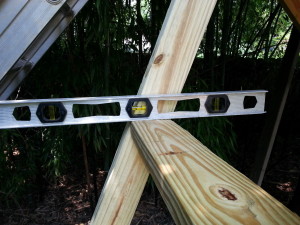
So level. So VERY level. One nail and one screw on each side.
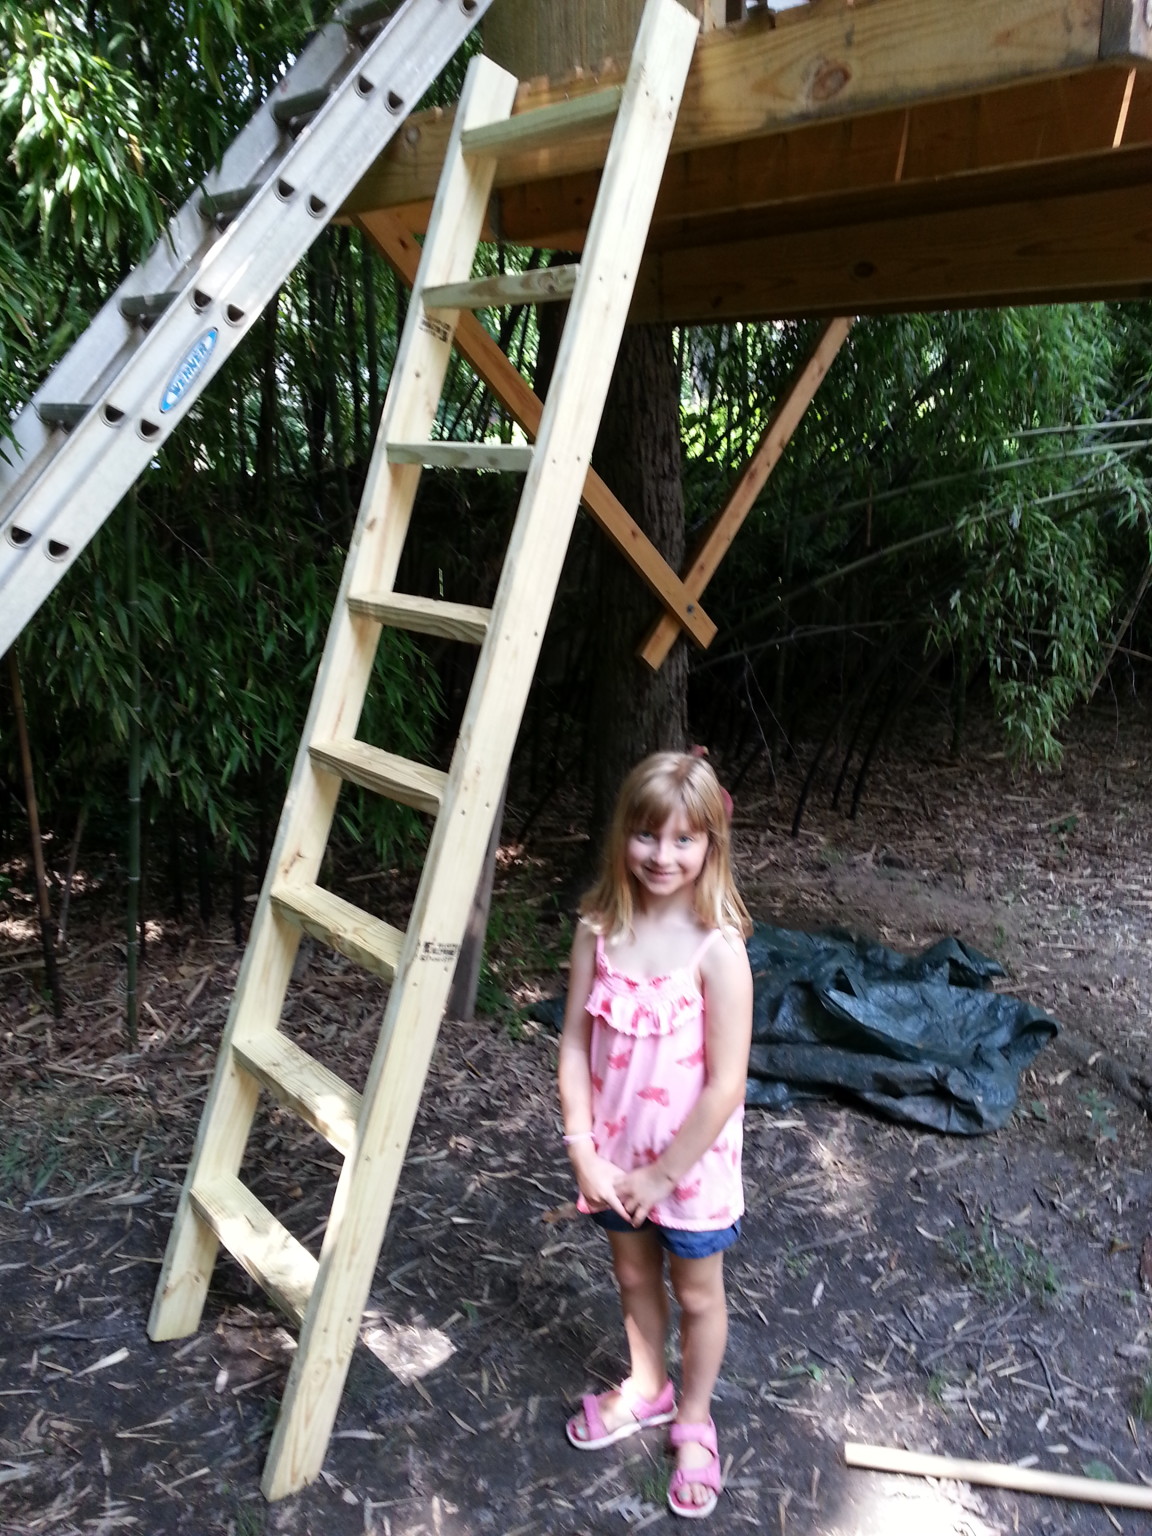
Done. Nice, huh? lots of the “rungs” were just scrap laying around. Some will say “Hey dude you should support those better” and maybe I will in the future but right now since we’re not over 100 pounds it will do fine.
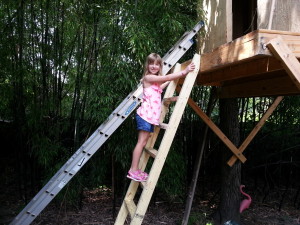
See? Still works a couple years later too. It even supports me and I am a big dude. And not getting smaller. Now she can actually go in it and play and hang posters and read books and giggle with her friends and whatnot.

I didn’t have a pulley laying around (yeah I have a lot of stuff laying around… ) so I put this hook into the edge of the framing…

right above and outside the back window, ran a rope thru it and…

Voila! Bucket to pull stuff up and down. I may move it in the future to the front so as to not interfere with the window. Notice there are shutters and hinges there? Yep did that too. Next post!
Coming soon- MORE details- more trim, window shutters and a door!
Missed the earlier posts? START HERE!